Overview
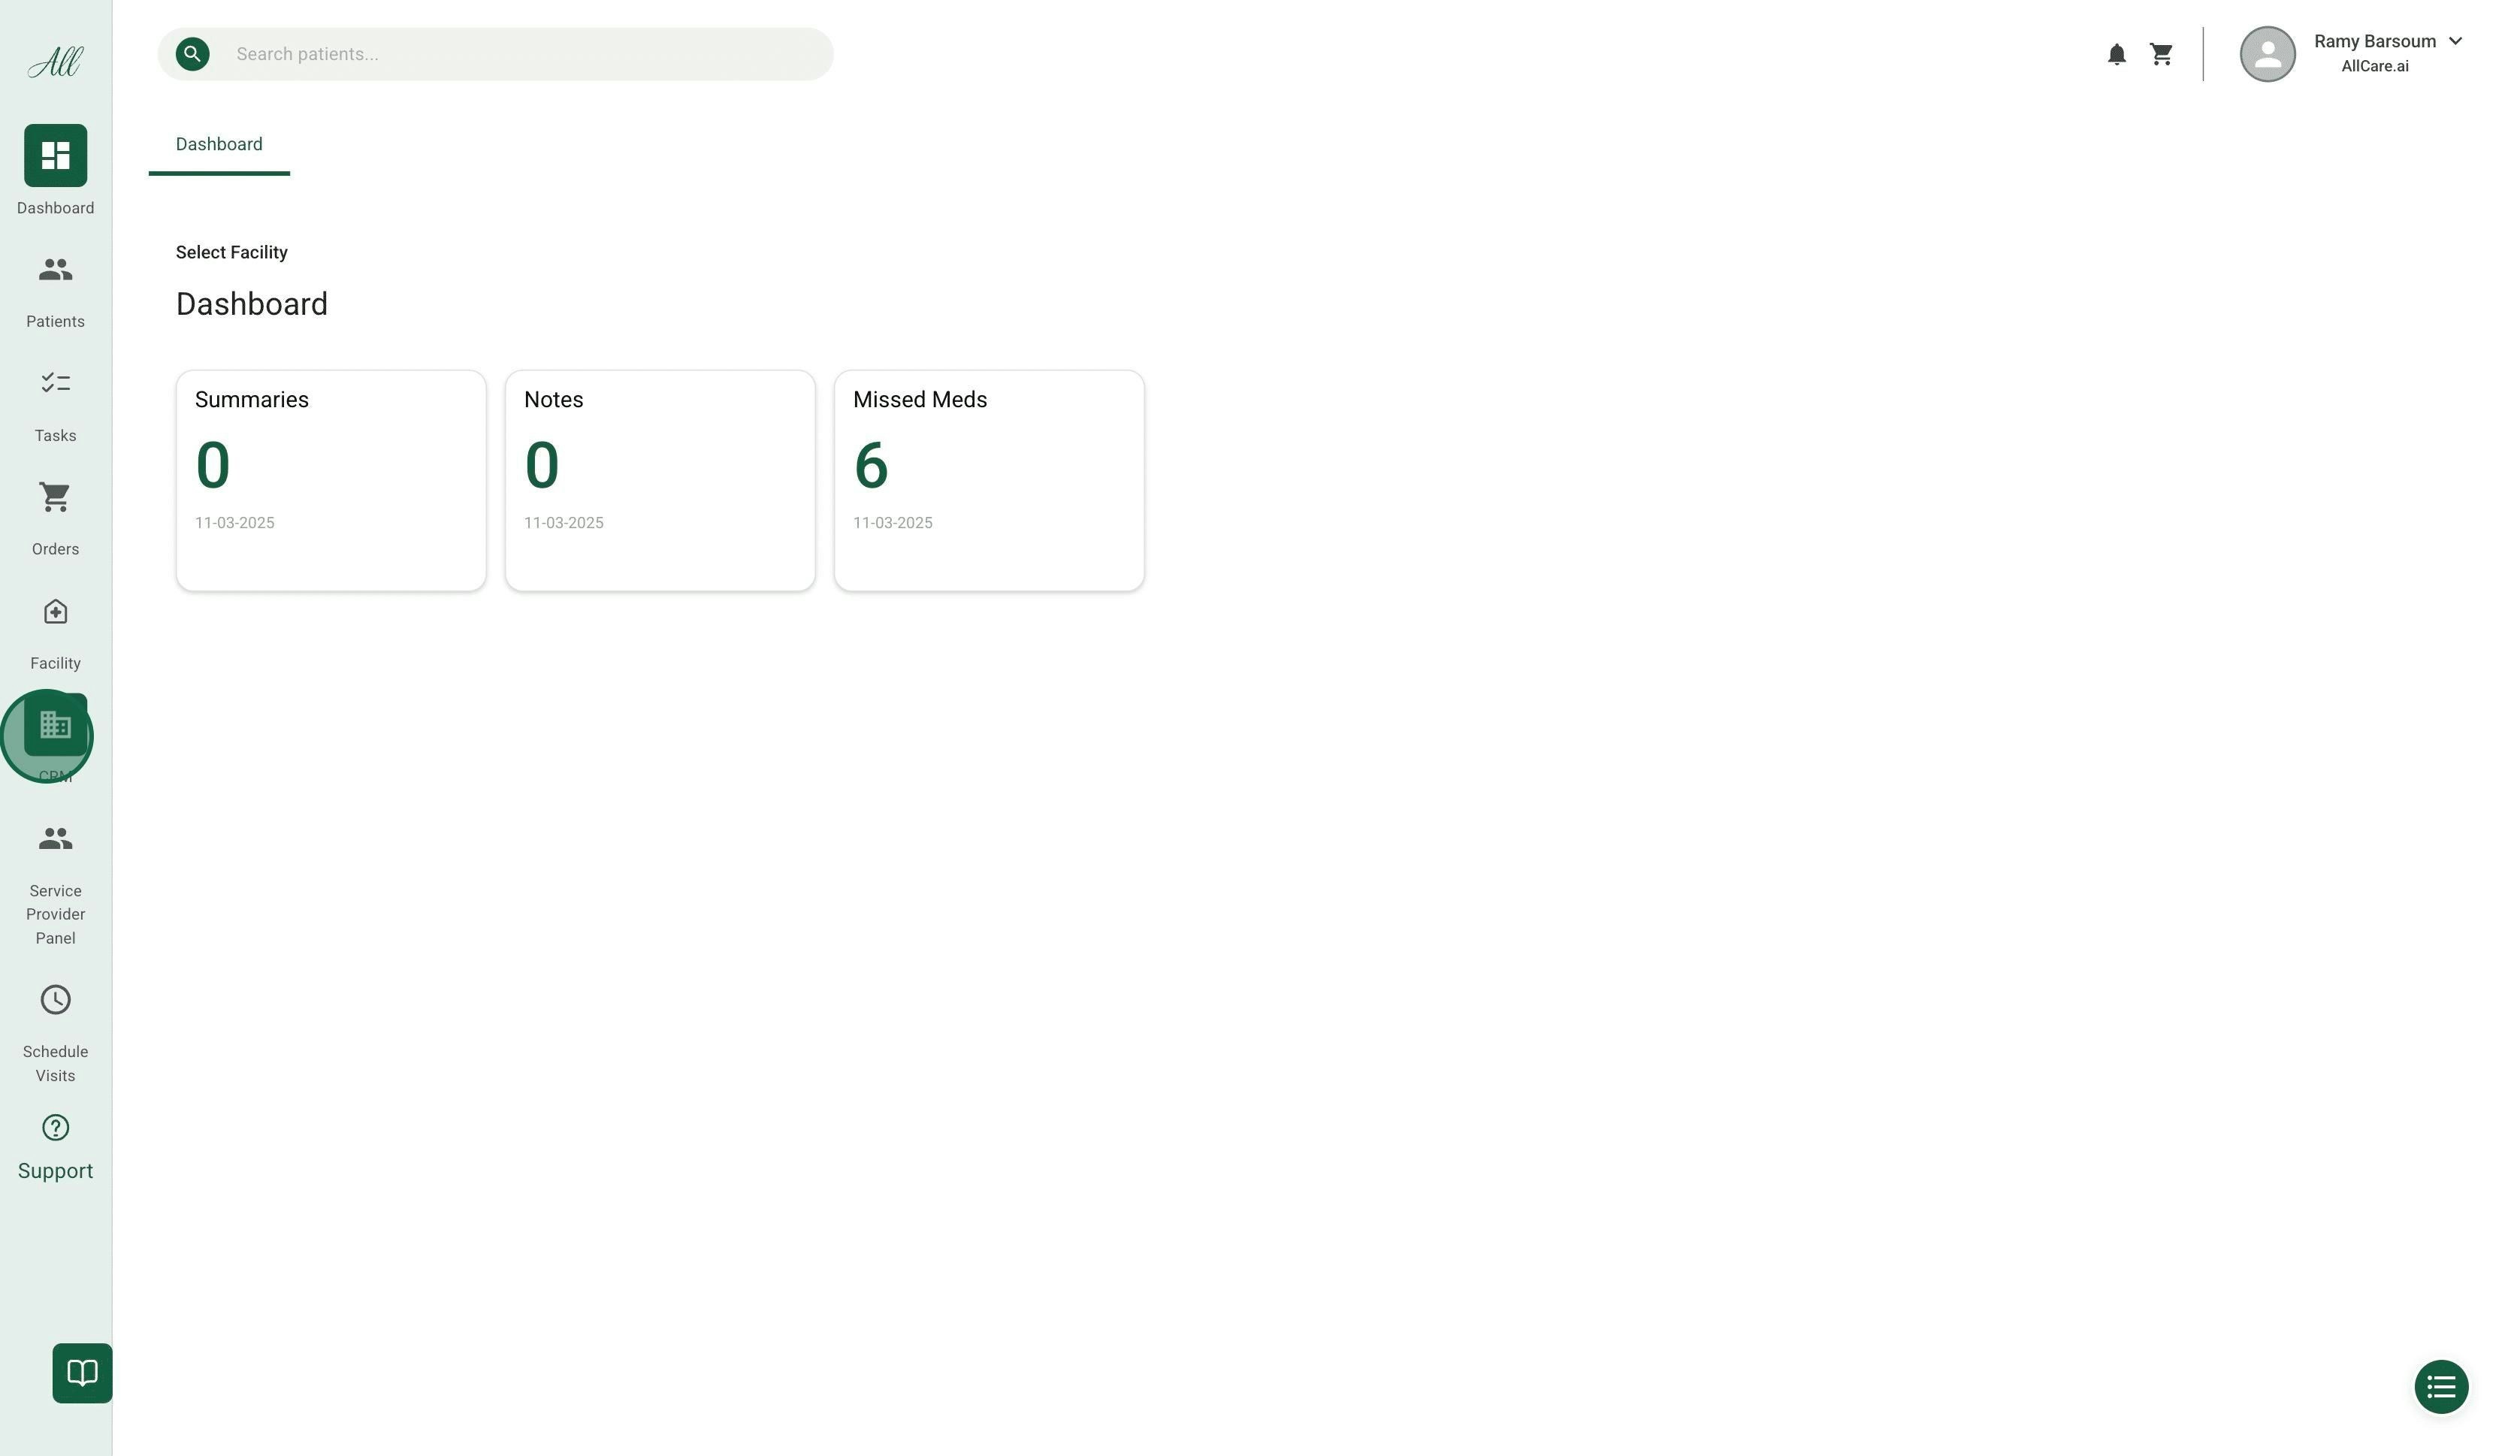
This comprehensive guide walks AllCare Operations staff through the complete CRM workflow, from facility creation through patient assignment. The CRM module streamlines facility onboarding, patient enrollment, and provider assignment.Accessing the CRM Module
Navigate to Platform
Step 1: Create New Facility
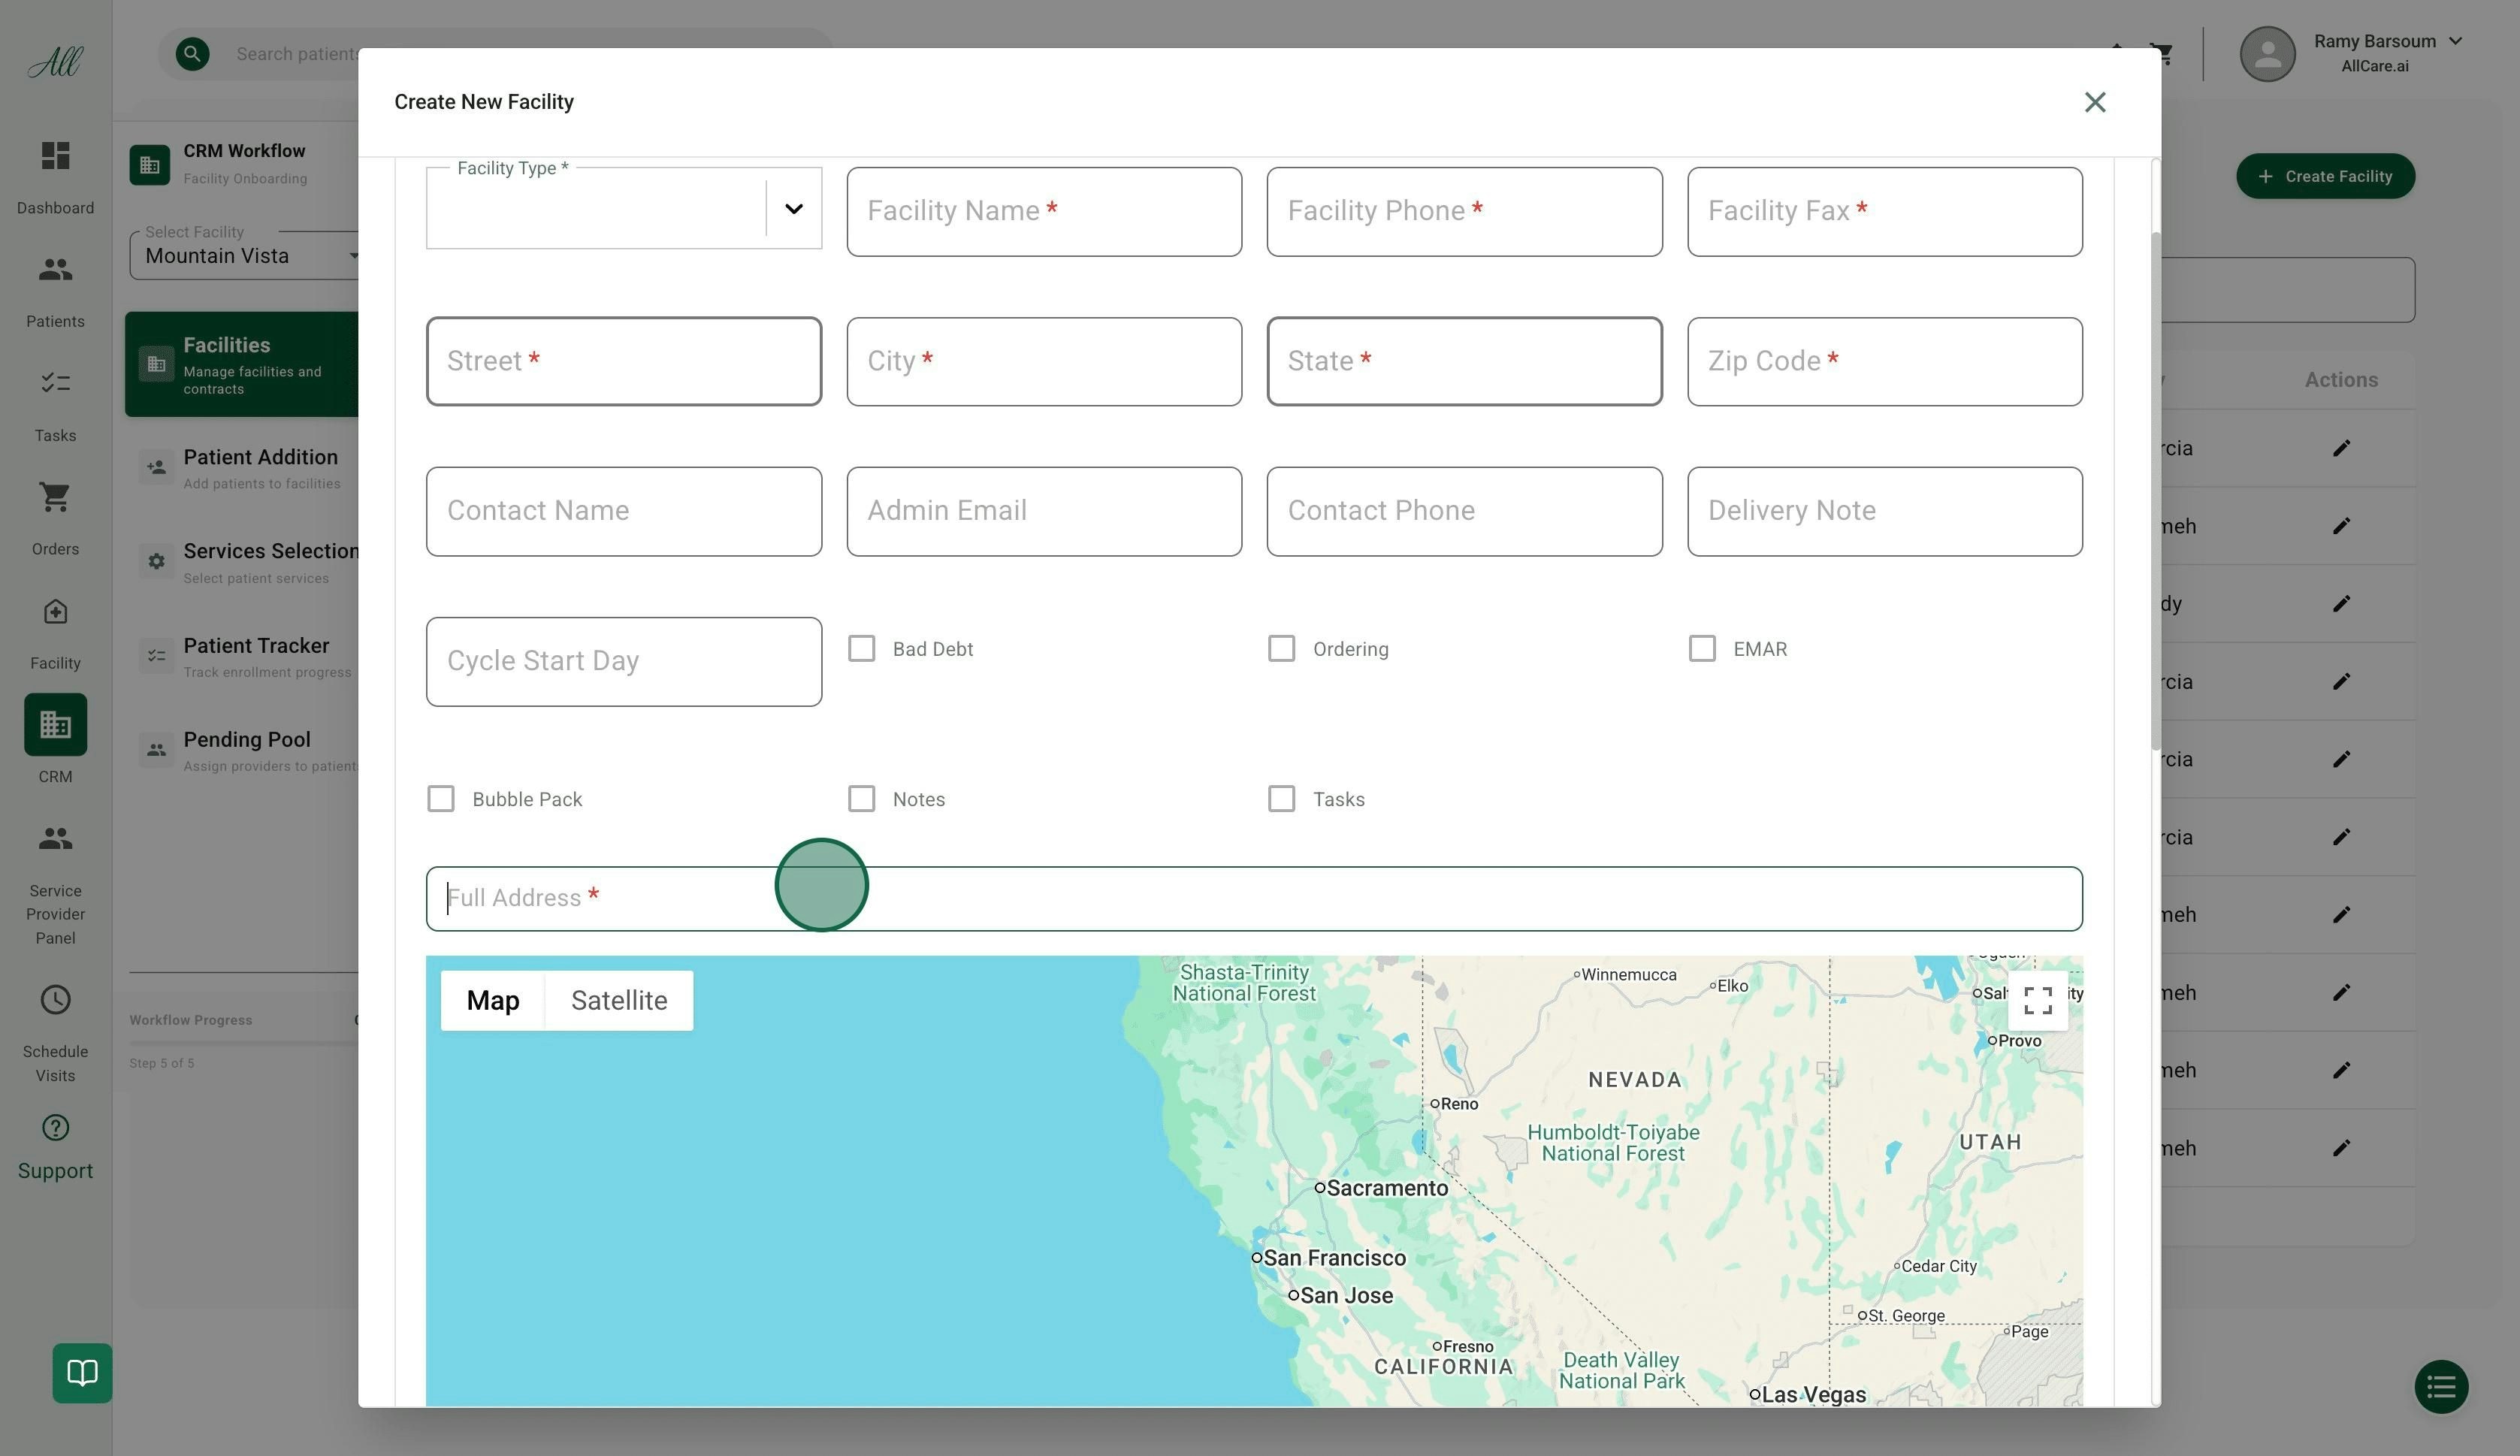
The first step is creating a facility profile in the system.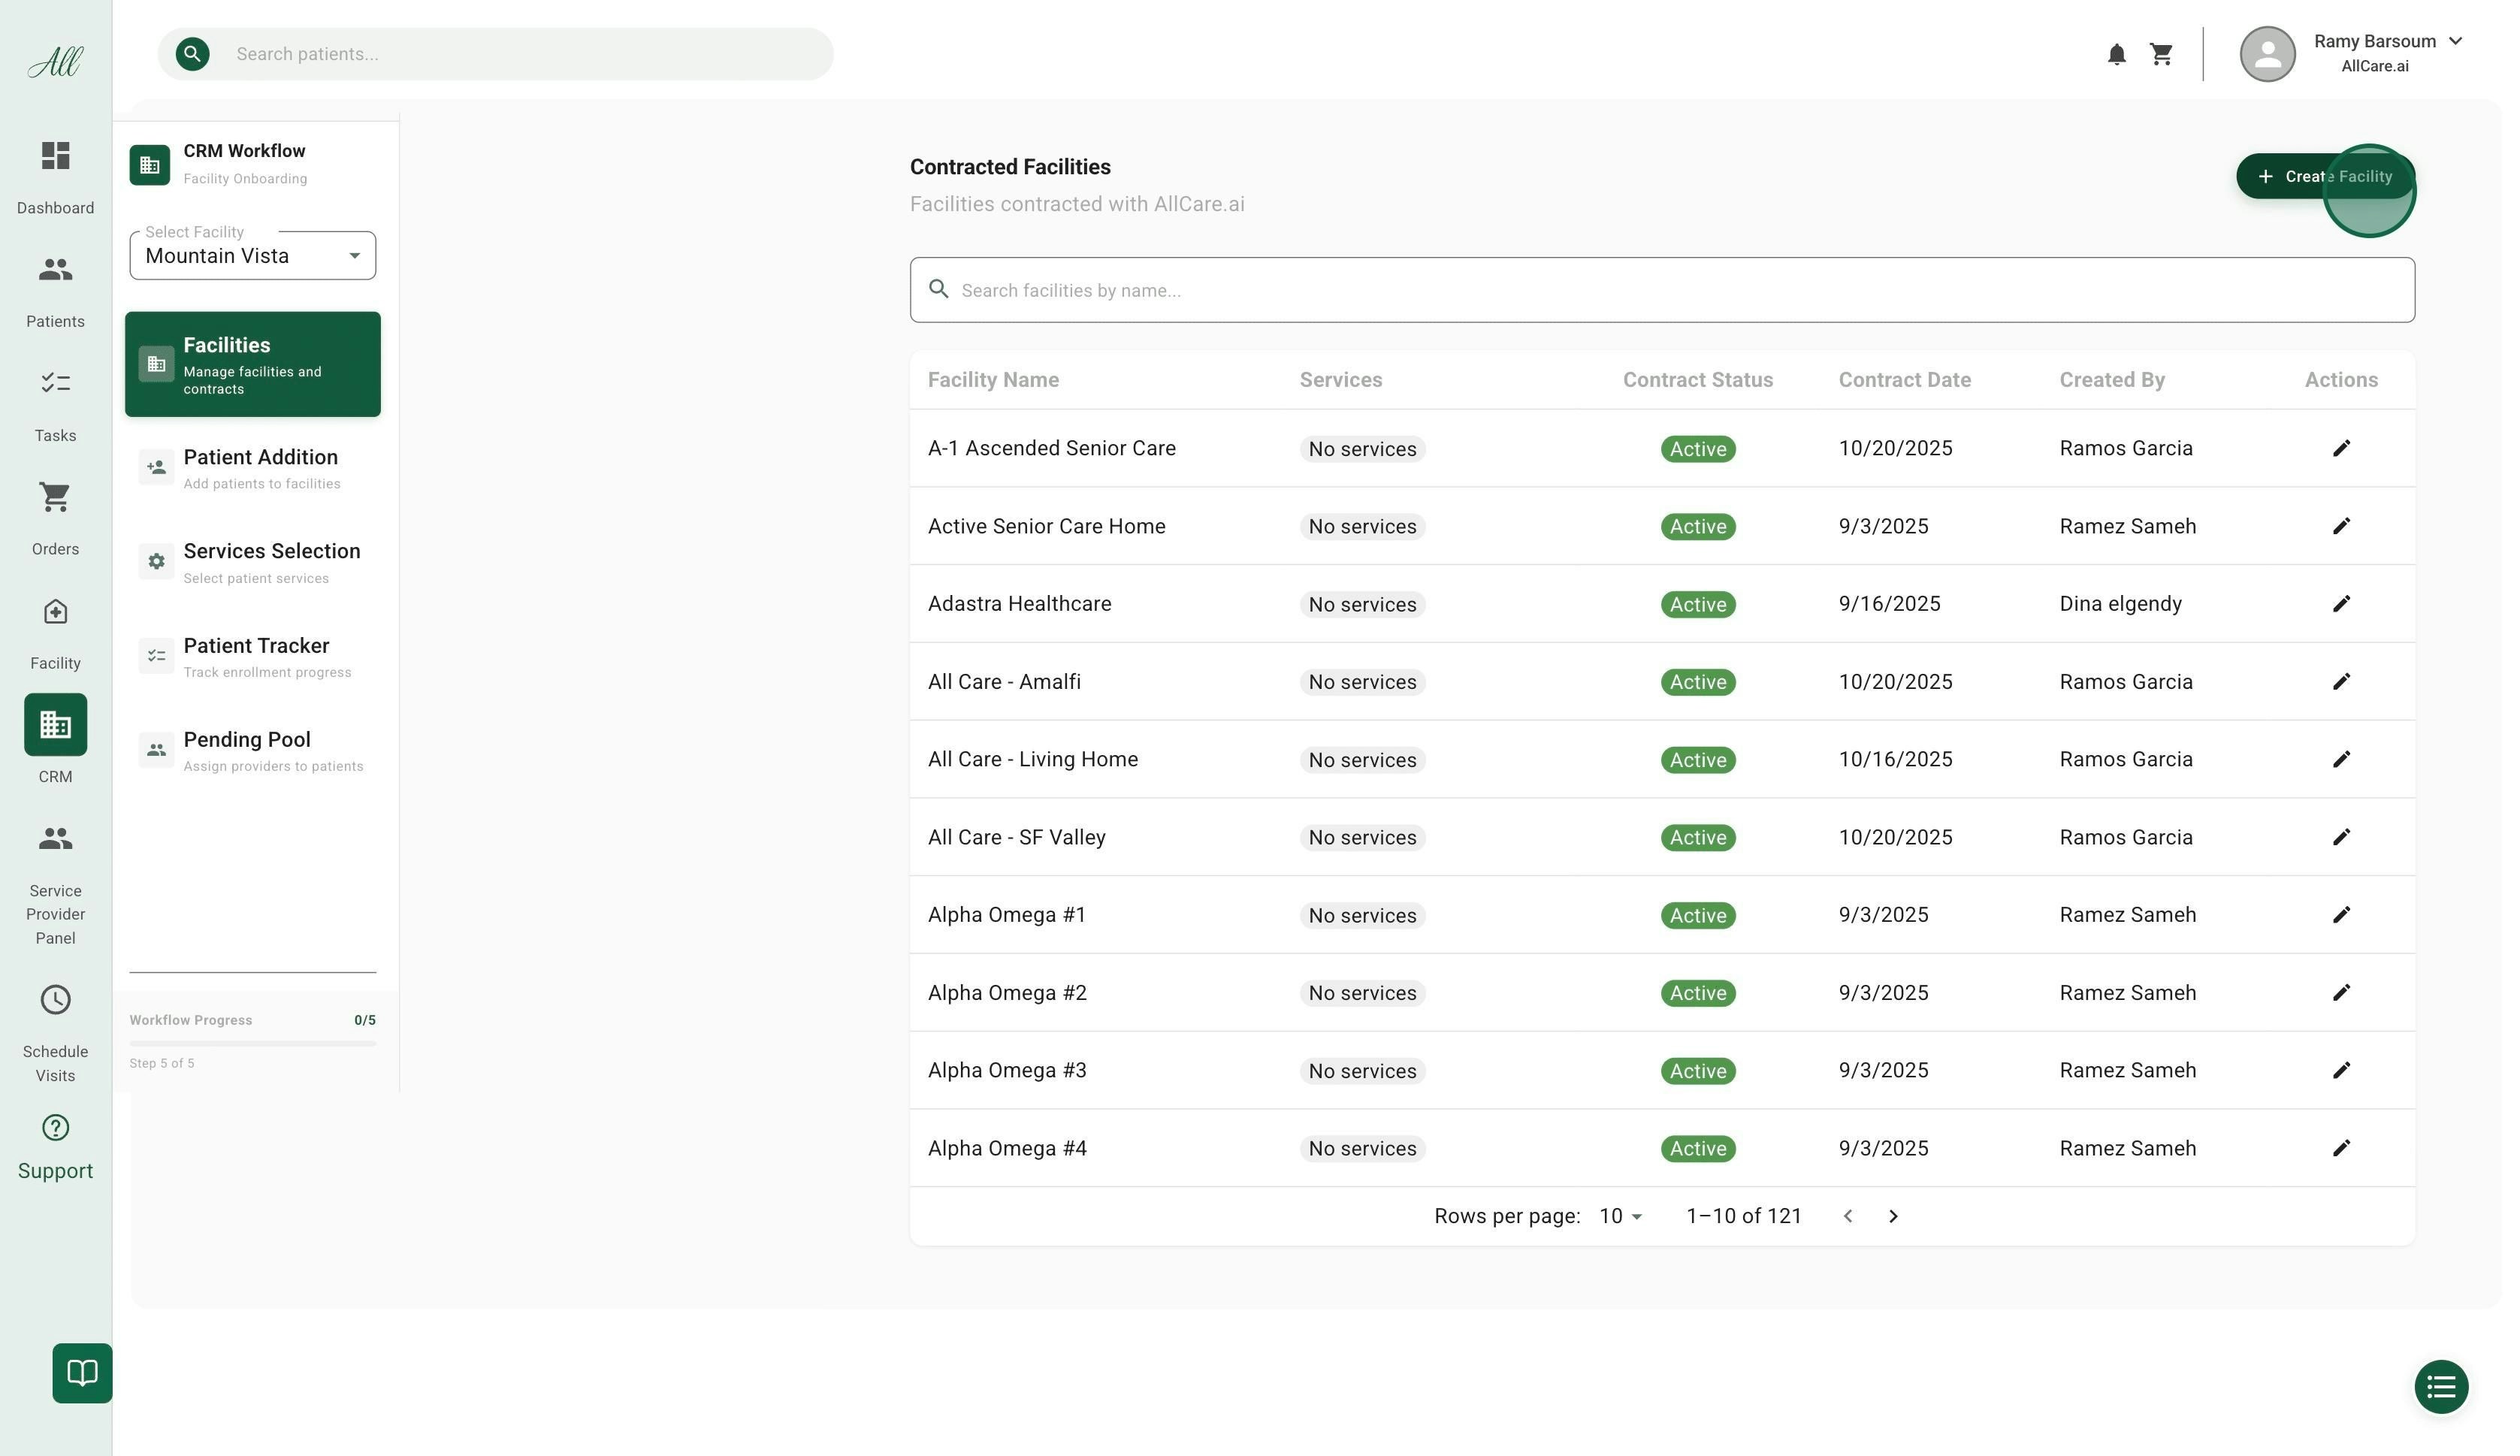
Enter Facility Information
- Facility name
- Administrator details
- Contact information
- Send an automatic invitation using the provided information
- Assign them to the facility
-
Grant appropriate access
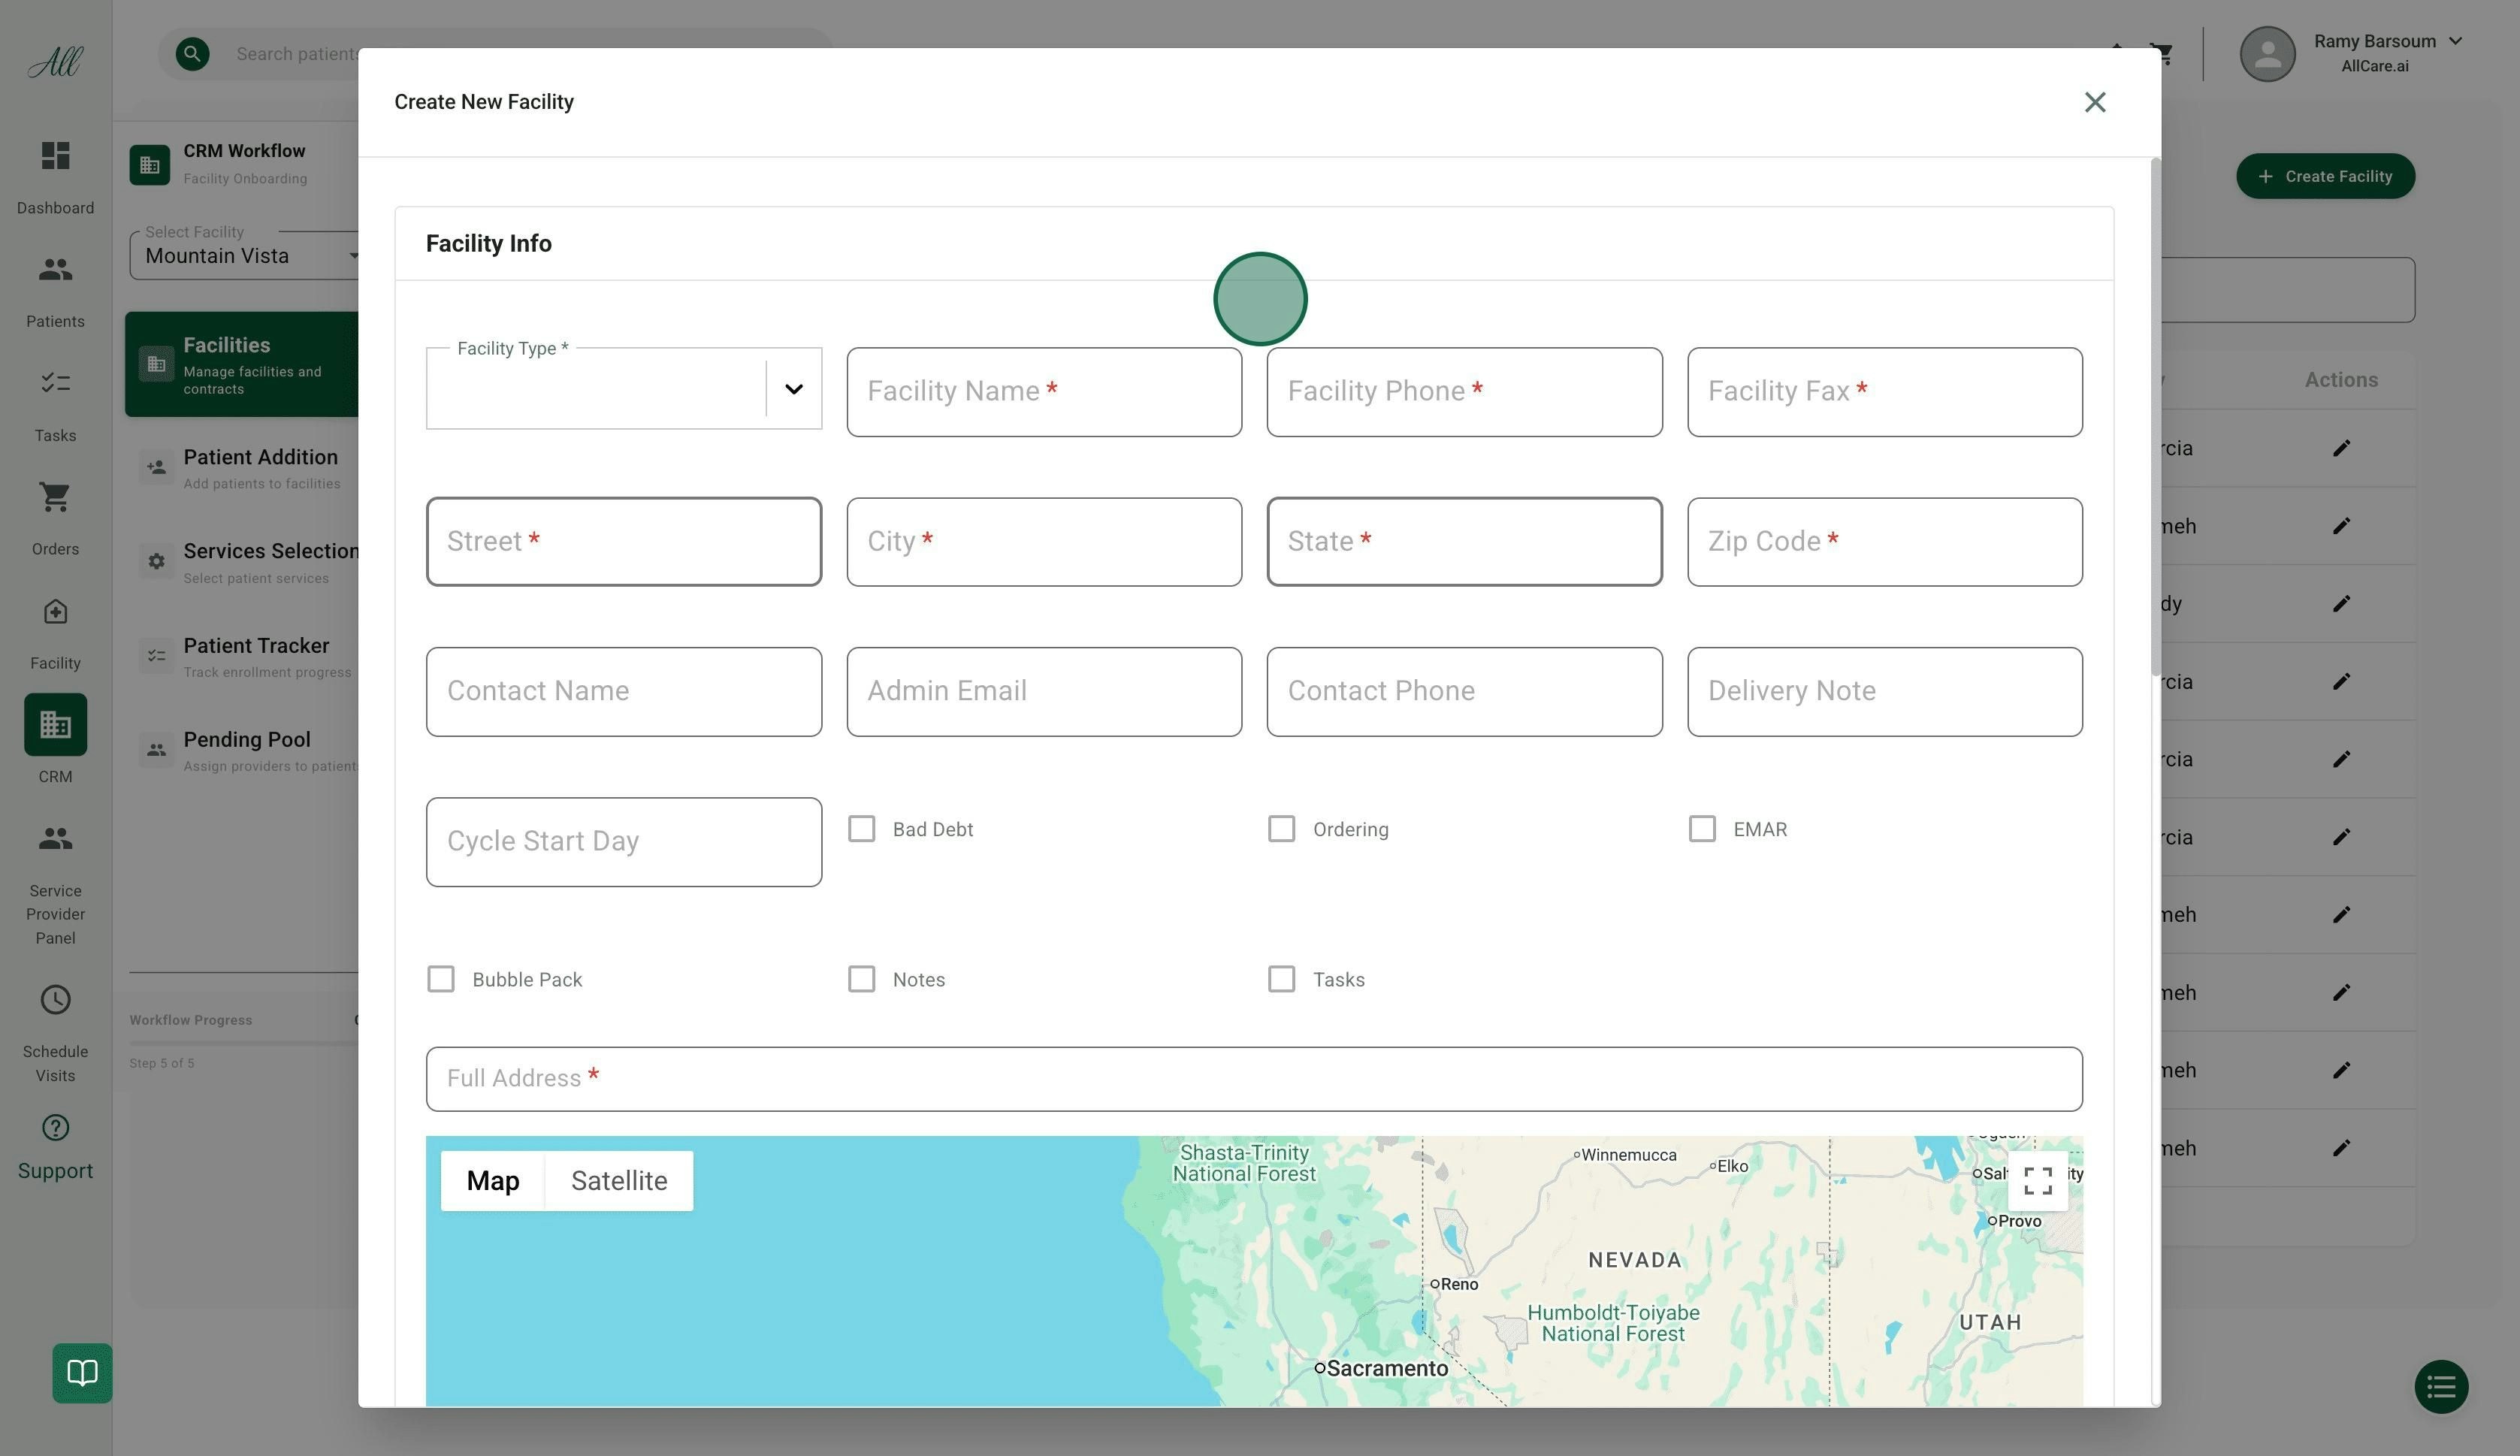
Select Service Features
- ✅ Ordering (for facilities working with AllRx Pharmacy)
- ✅ eMAR (Electronic Medication Administration Record)
- ✅ Bubble Pack
- ✅ Notes
- ✅ Tasks
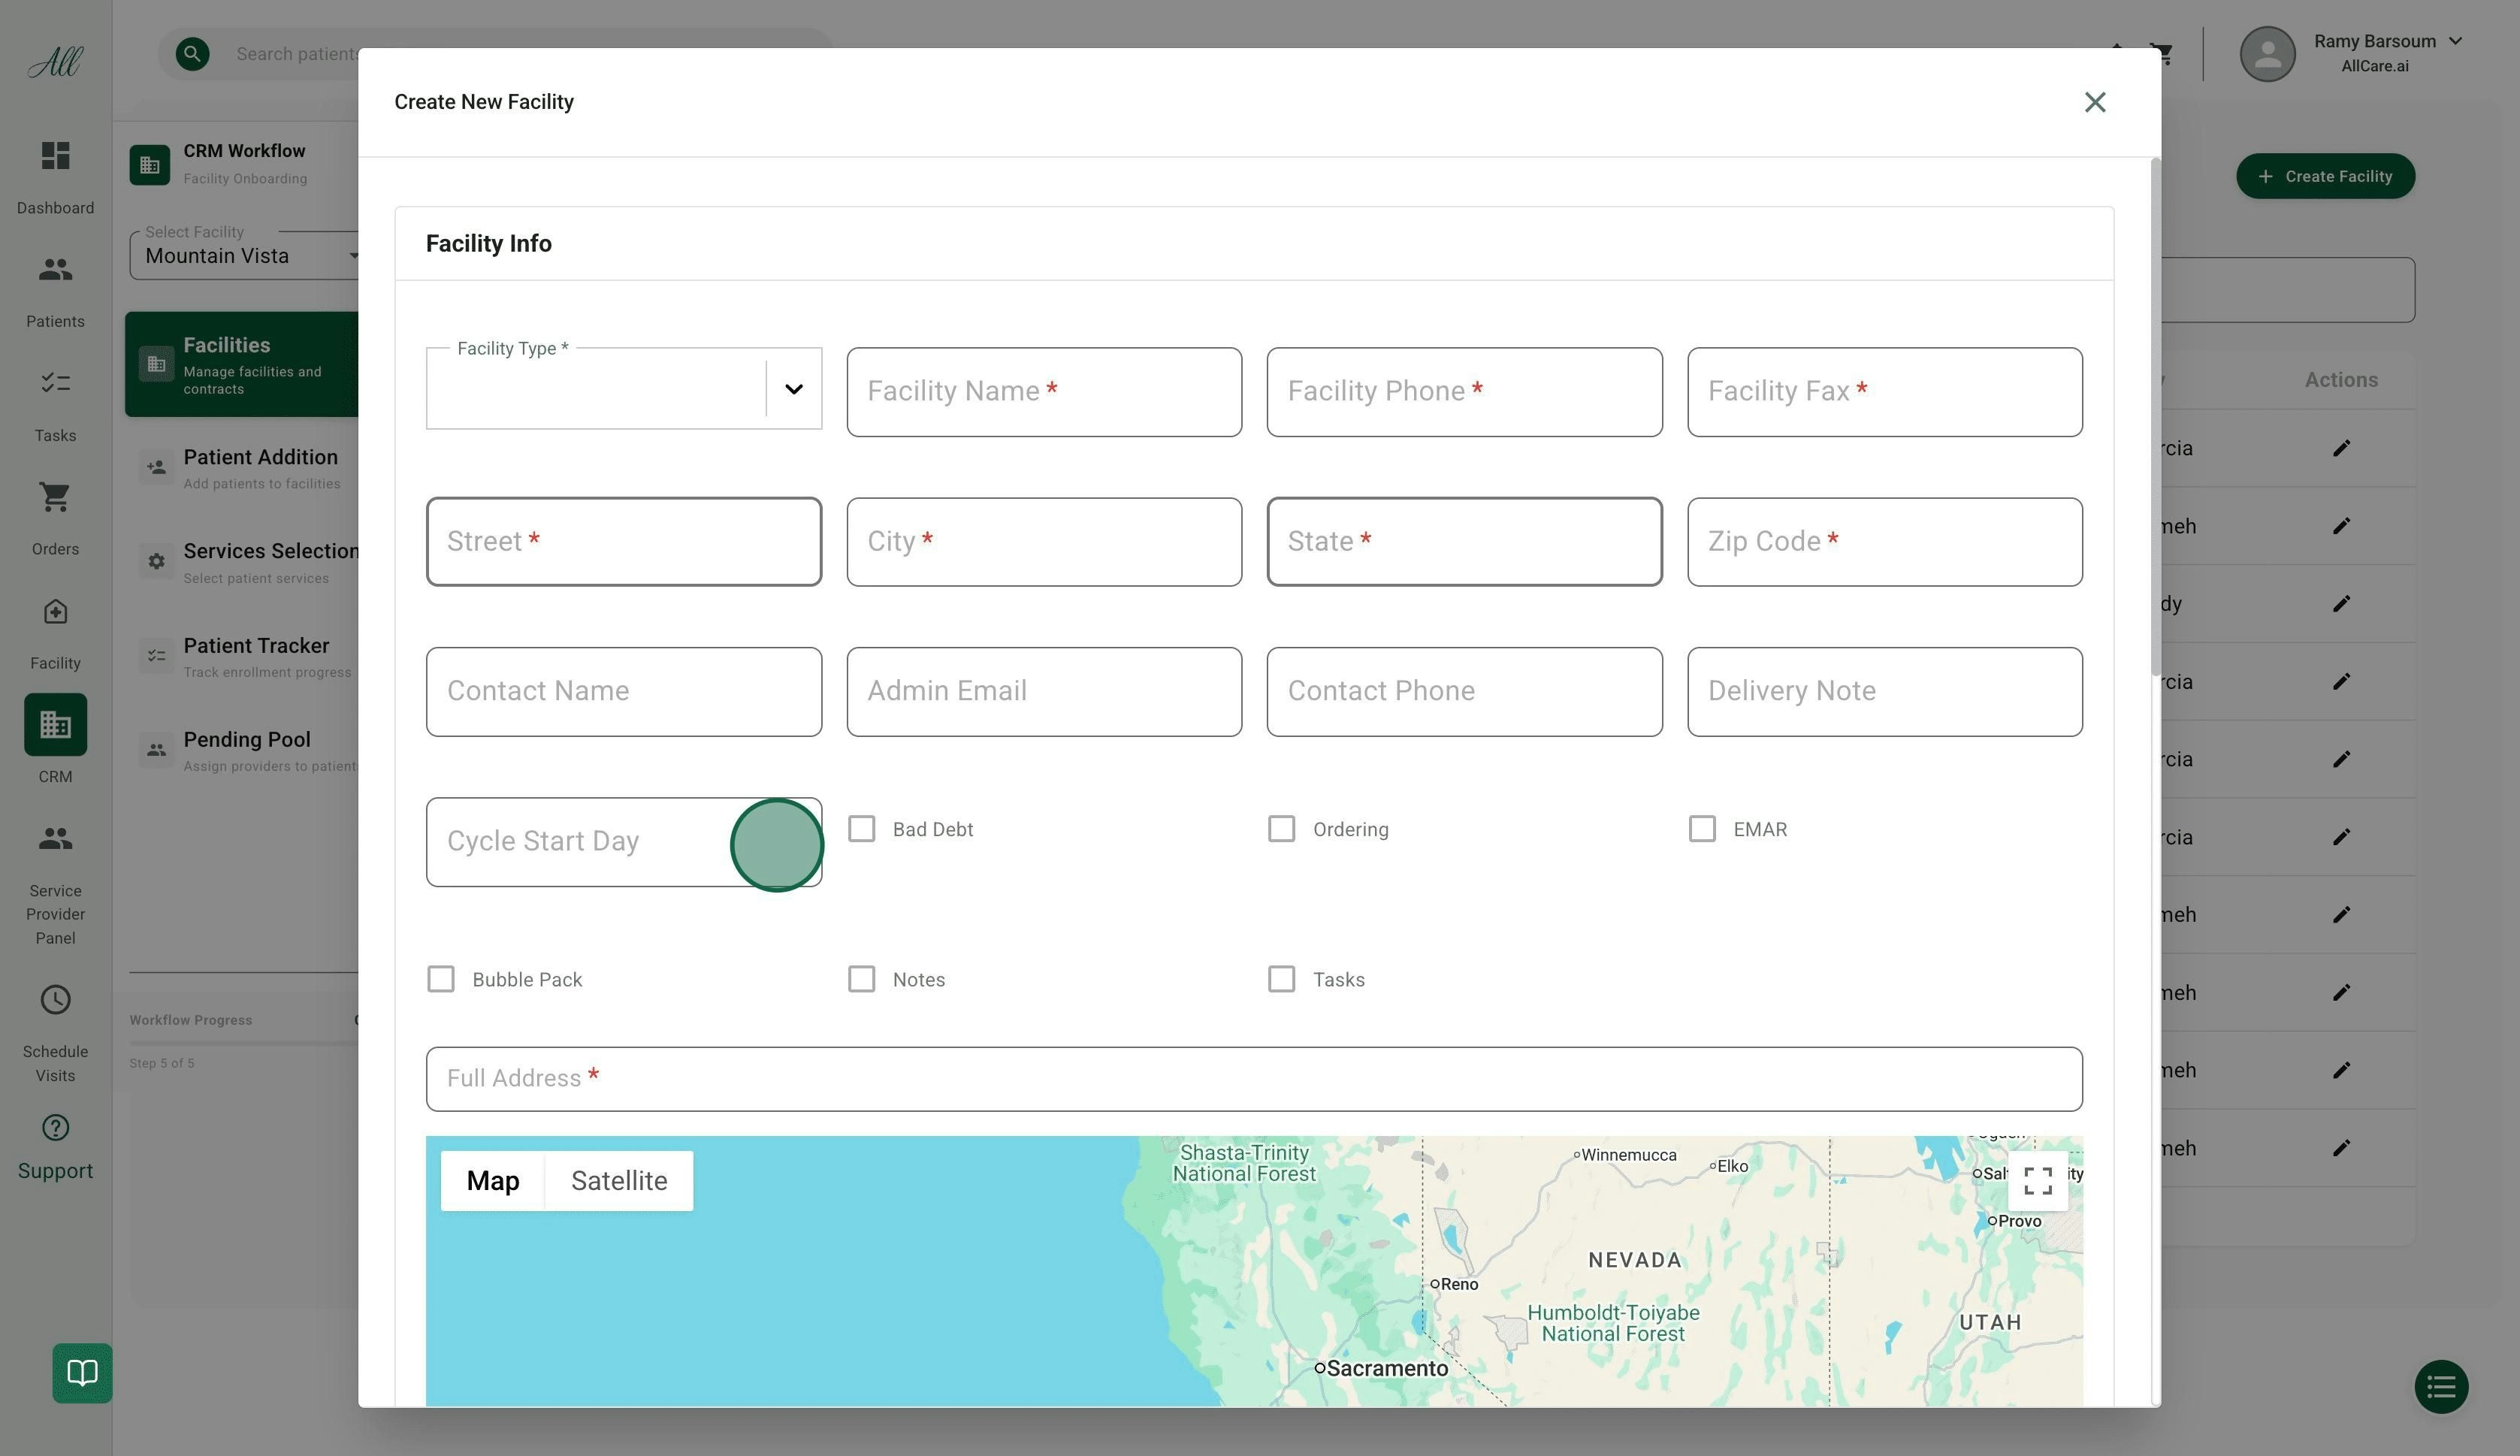
Set Cycle Start Day (Optional)
- Enter the “Cycle Start Day” in the correct field
-
This helps the pharmacy manage cycle medication delivery
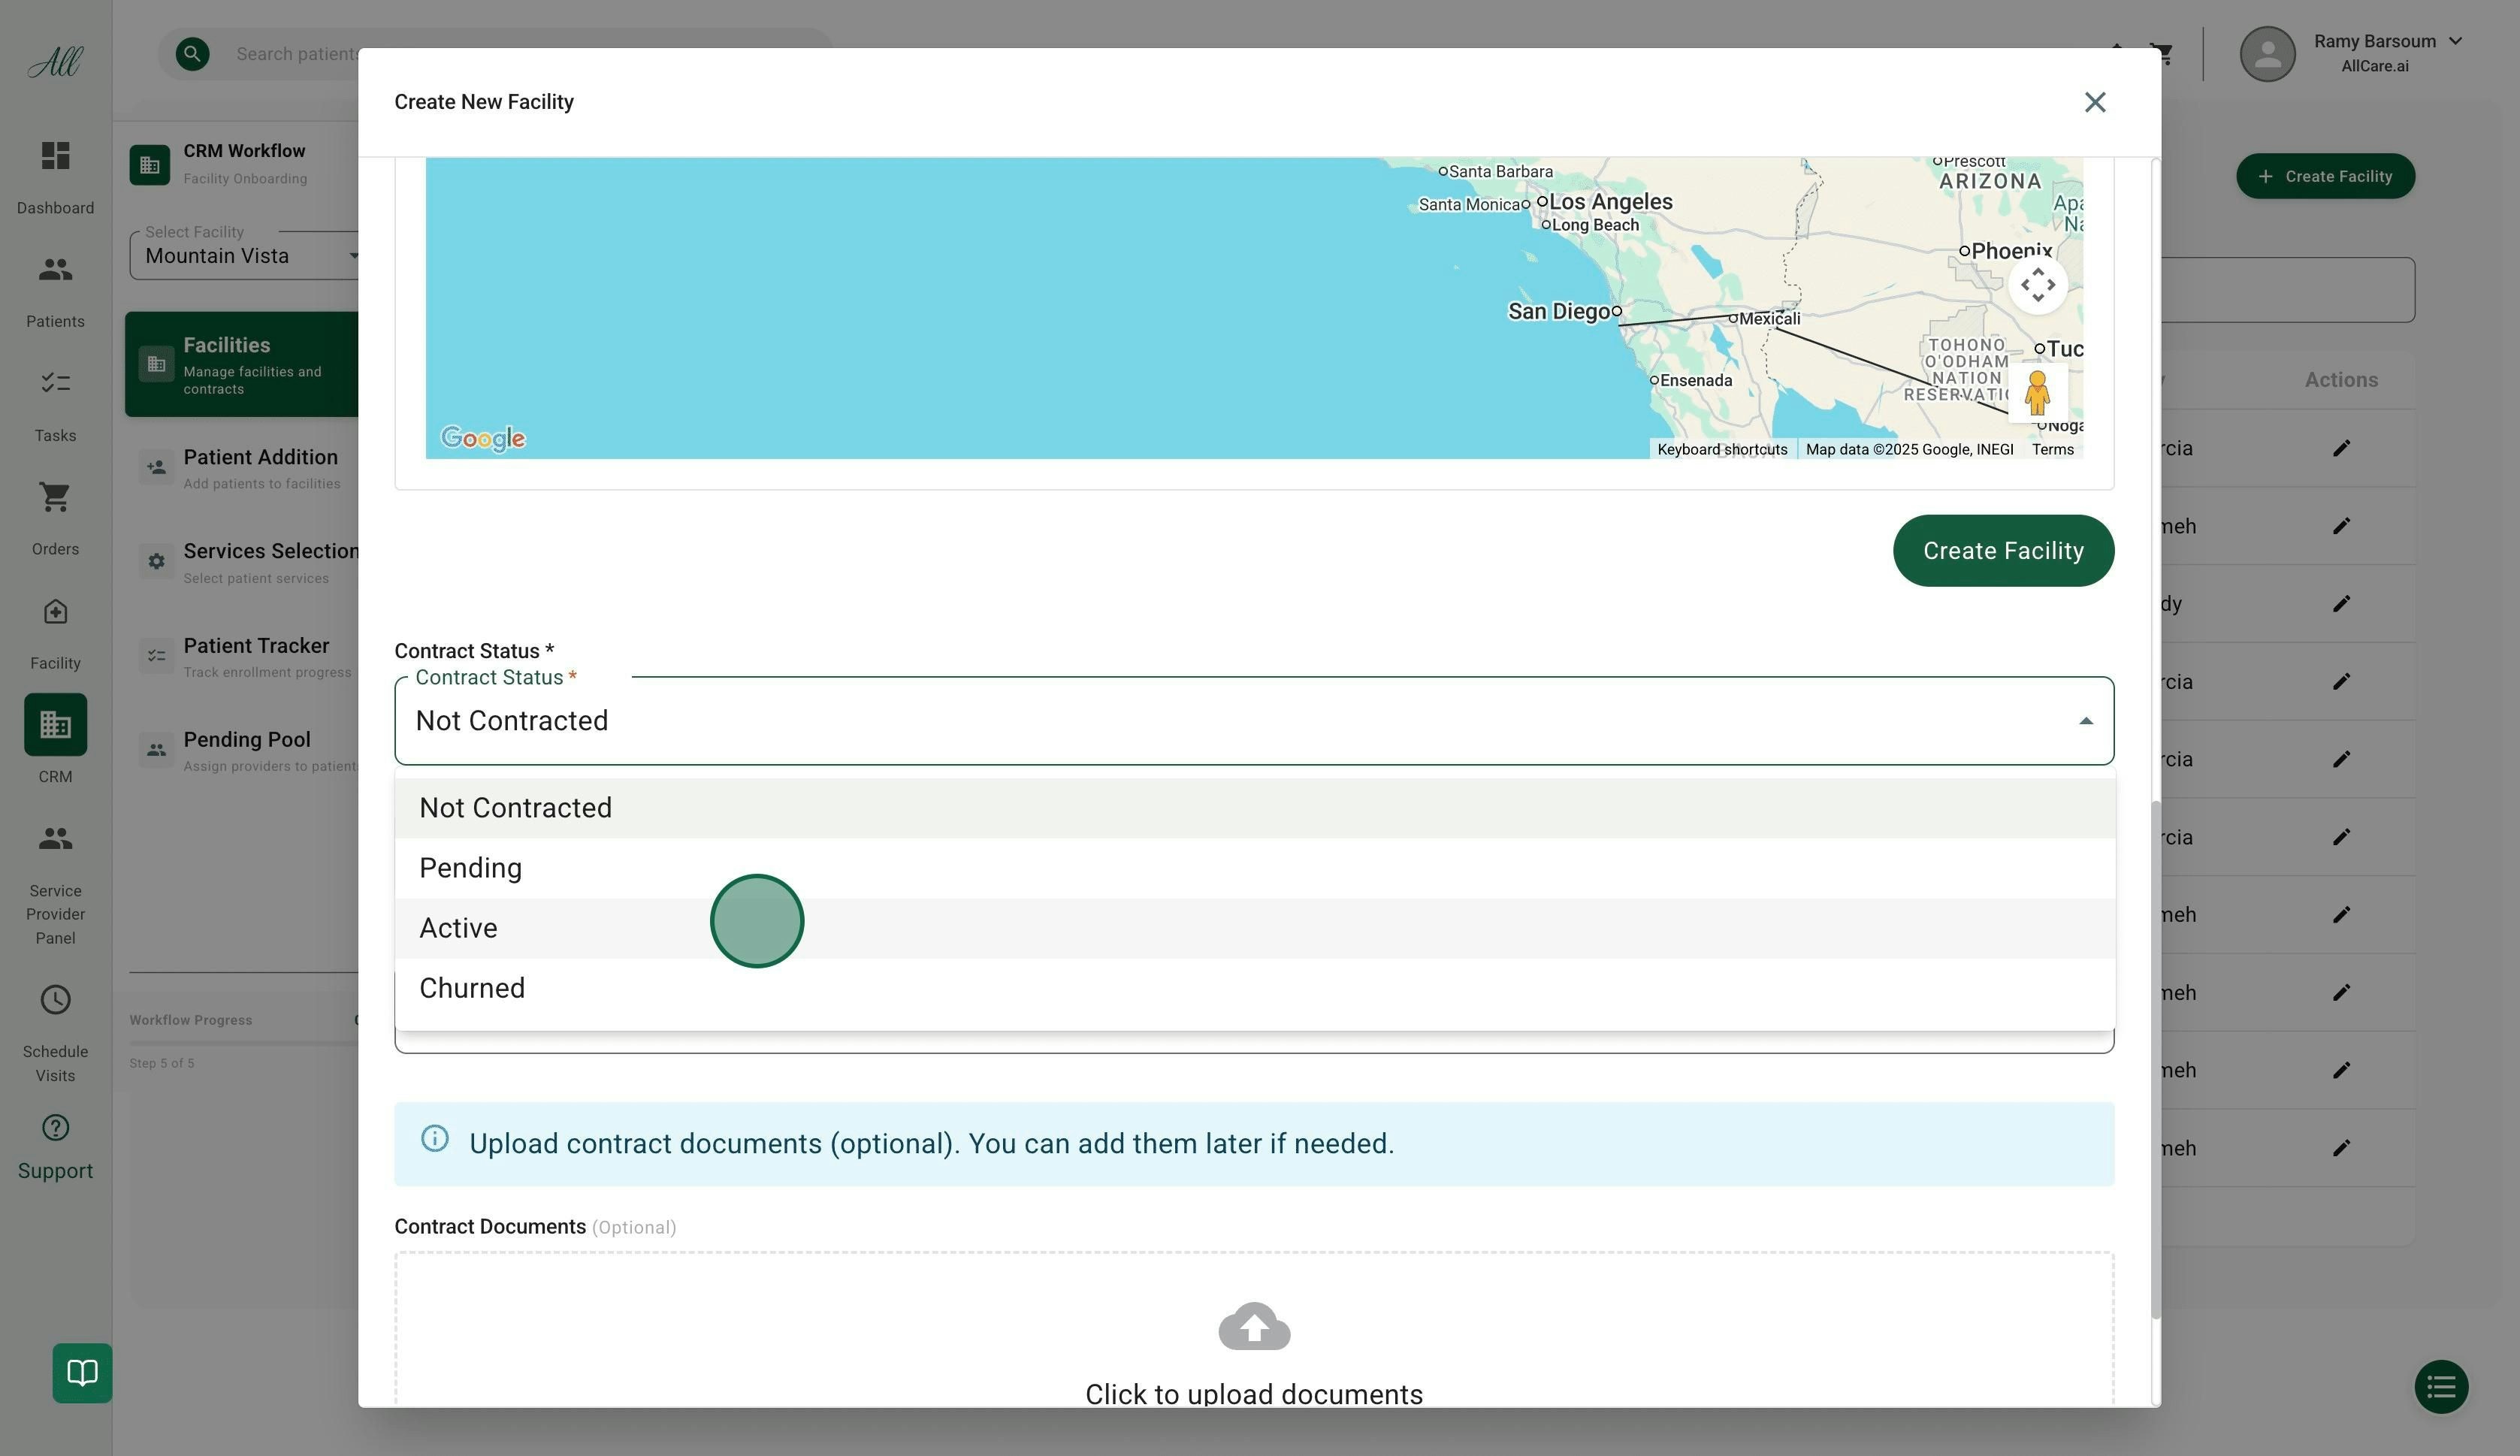
Set Contract Status
- Not Contracted - Initial status
- Pending - Contract in negotiation
- Active - Contract signed and active
- Churned - Contract ended
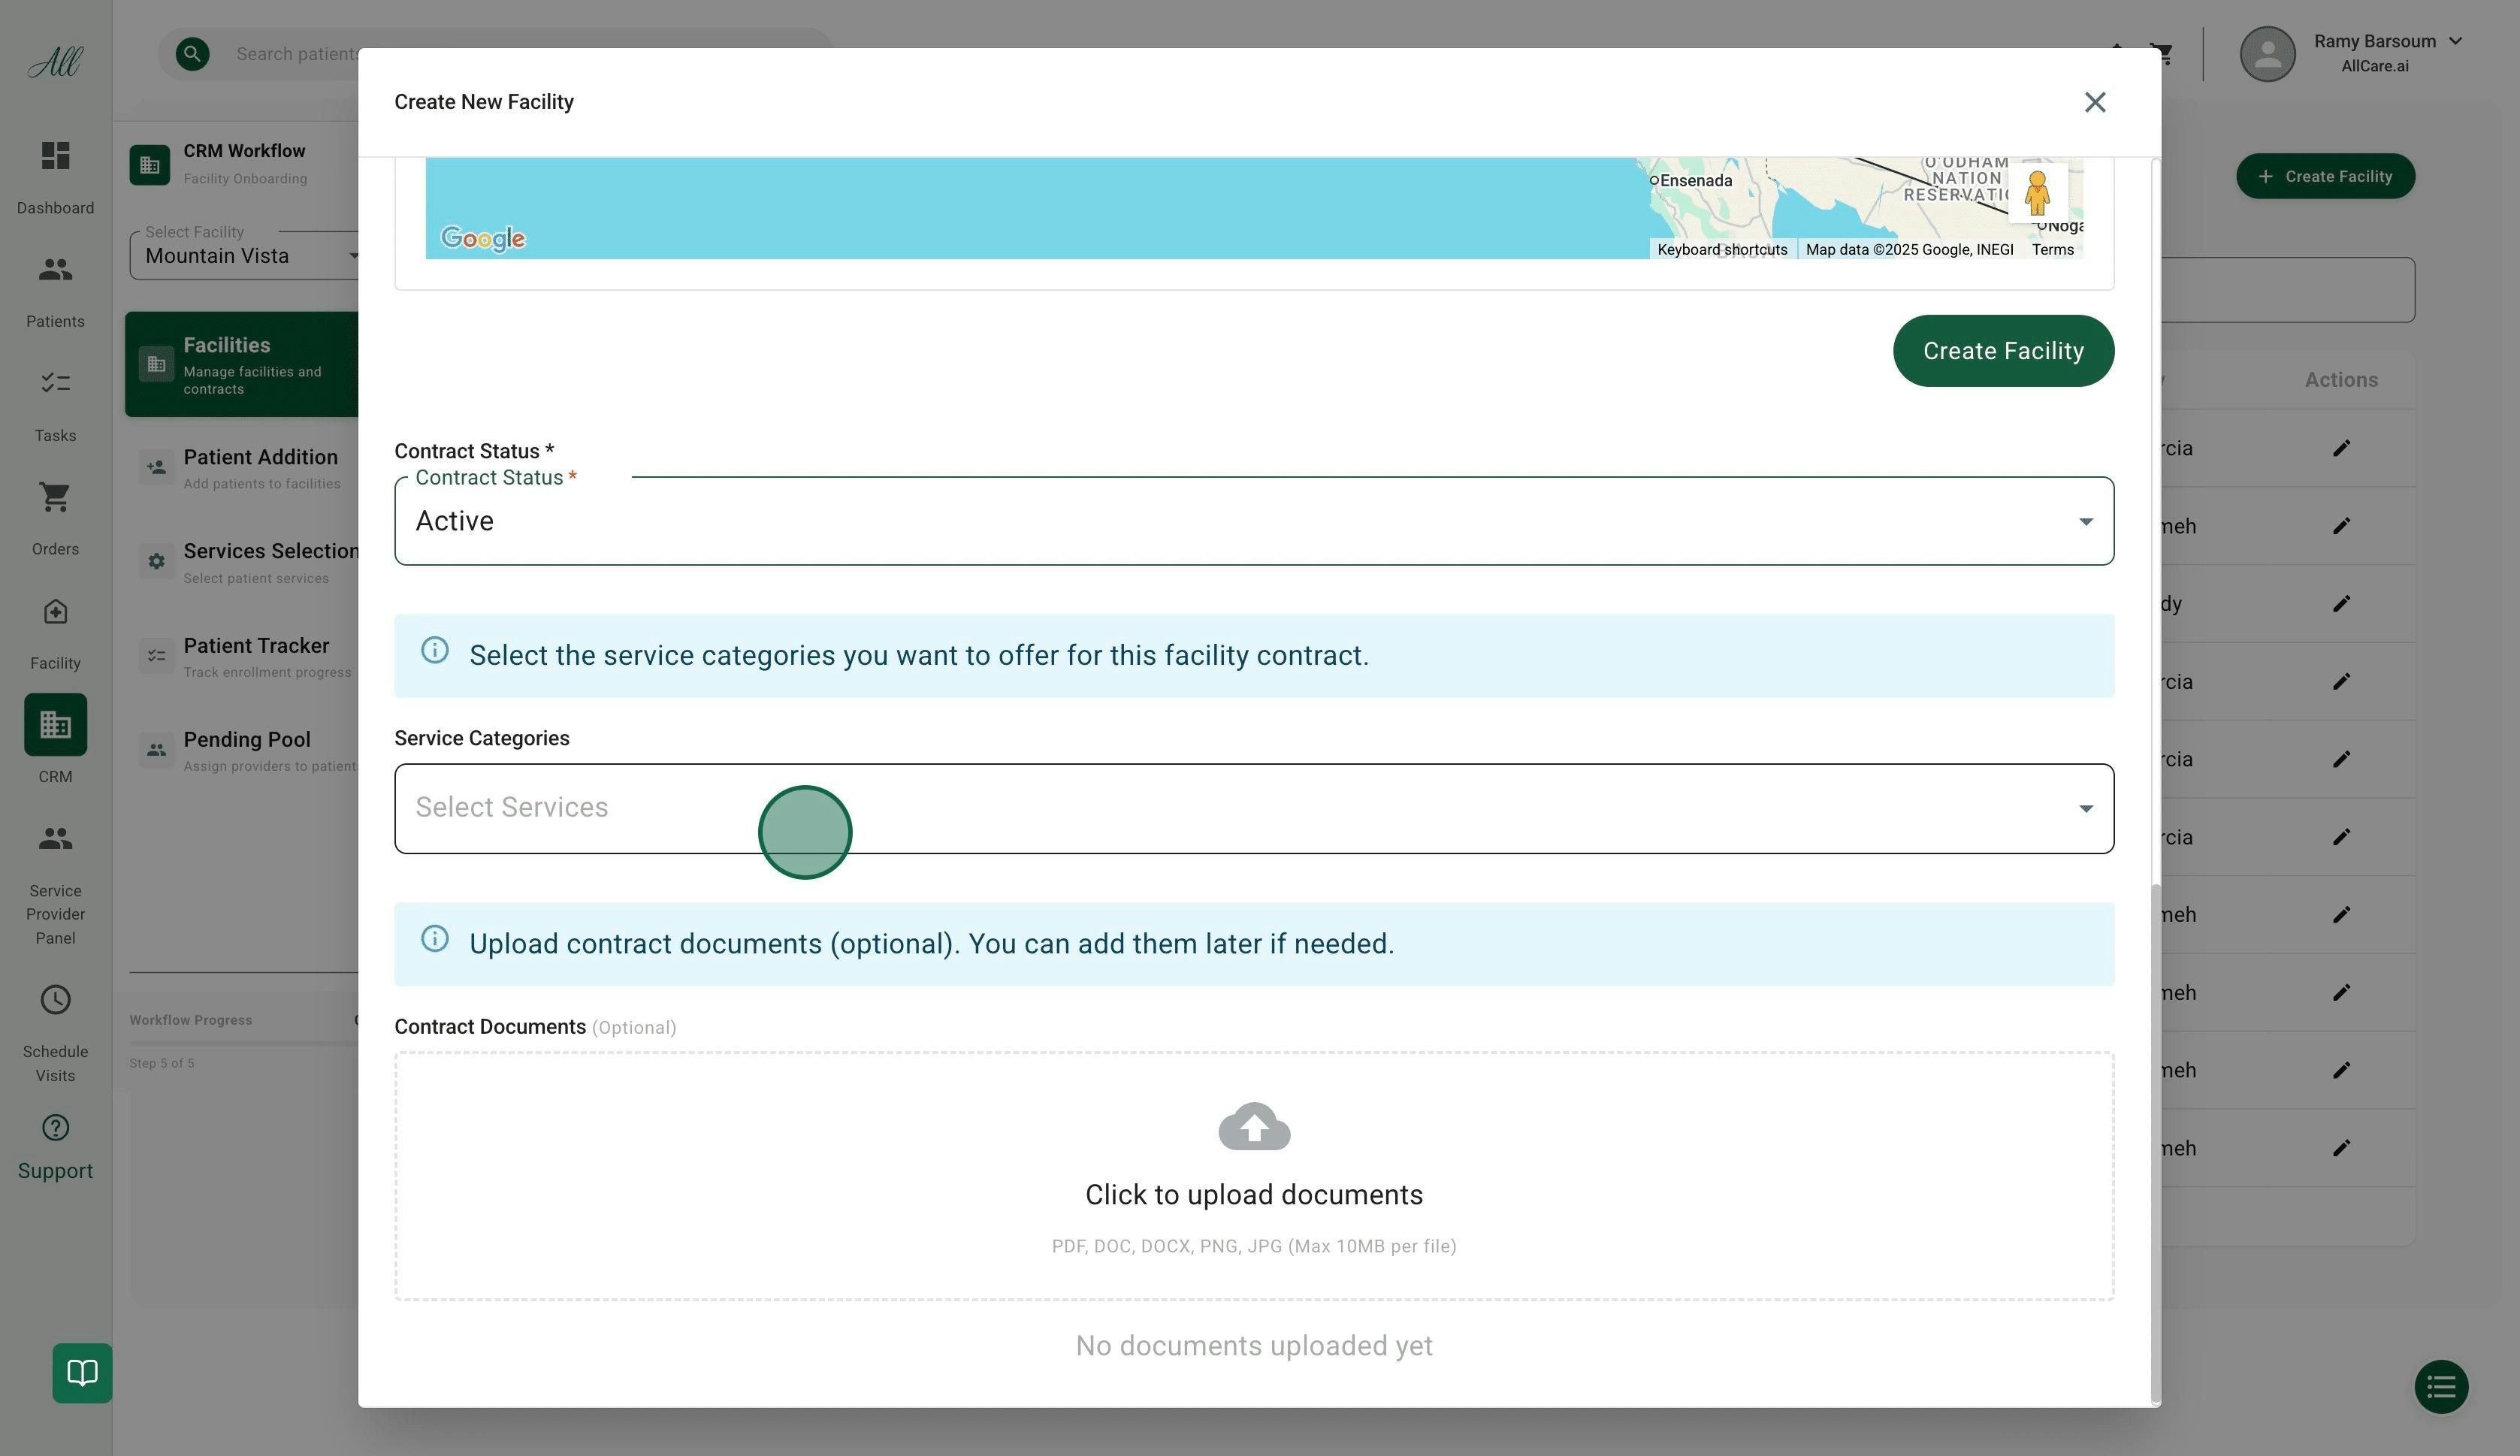
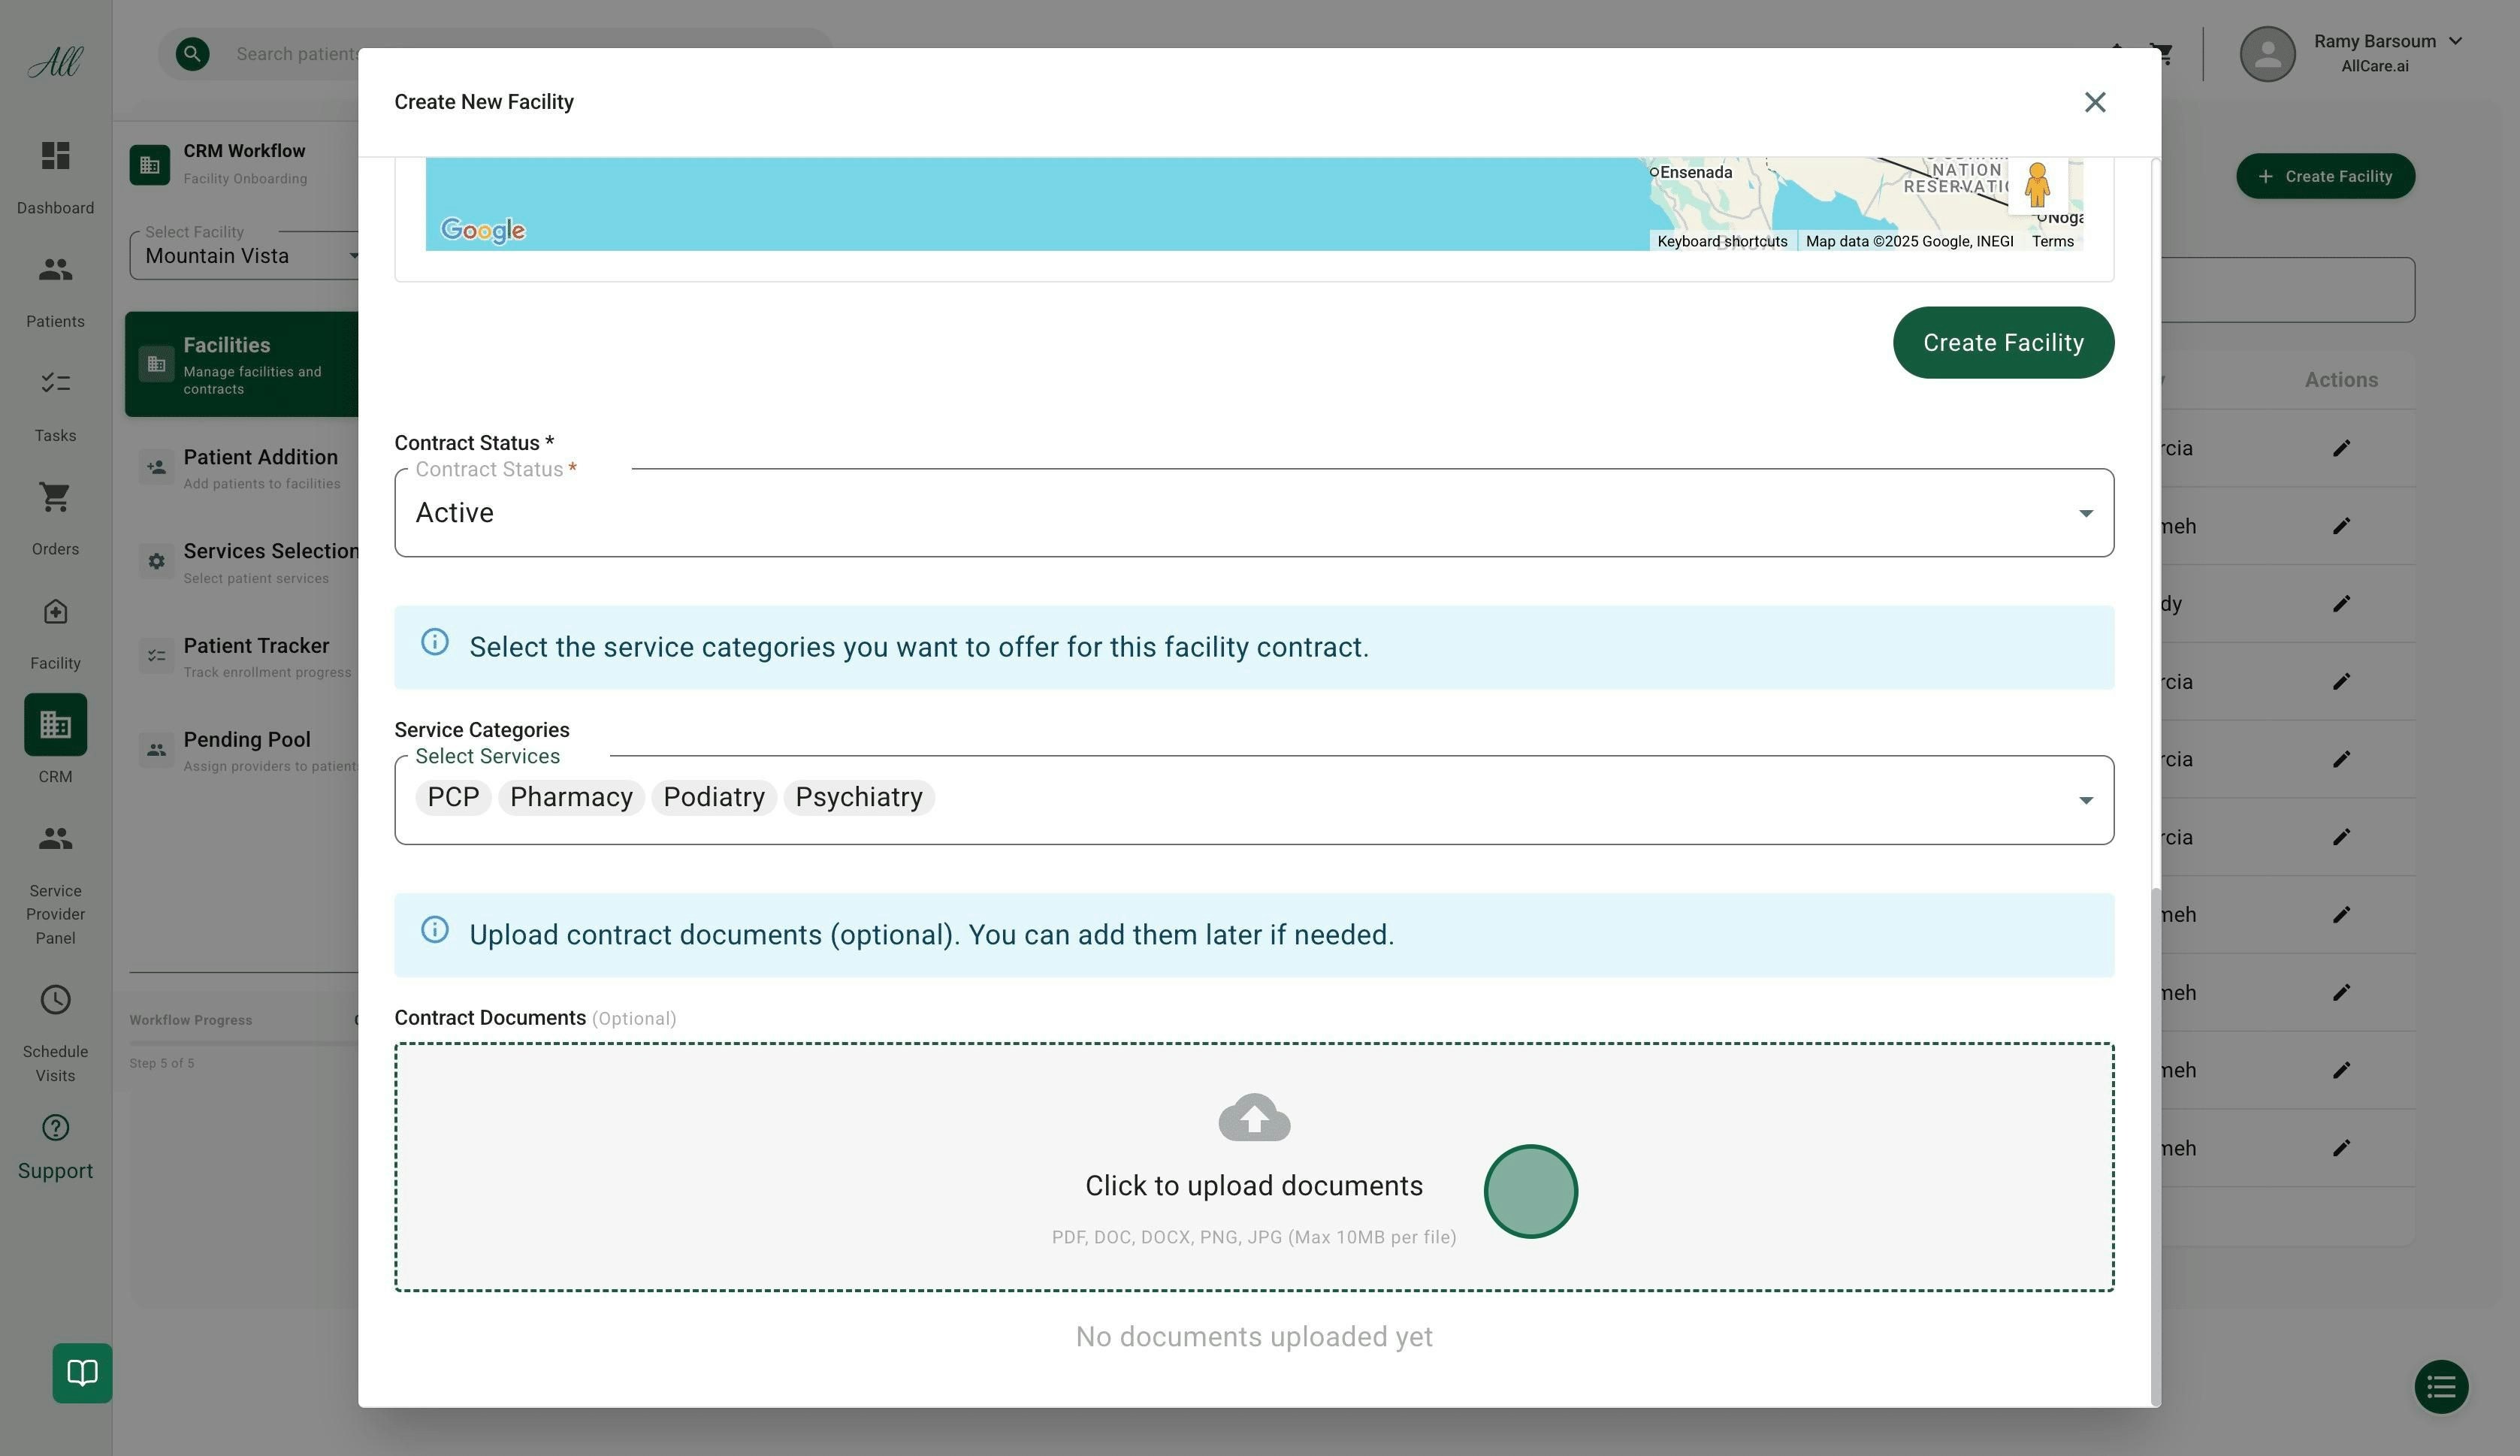
Select Service Categories
- Forecast demand
- Ensure sufficient supply
-
Plan resource allocation
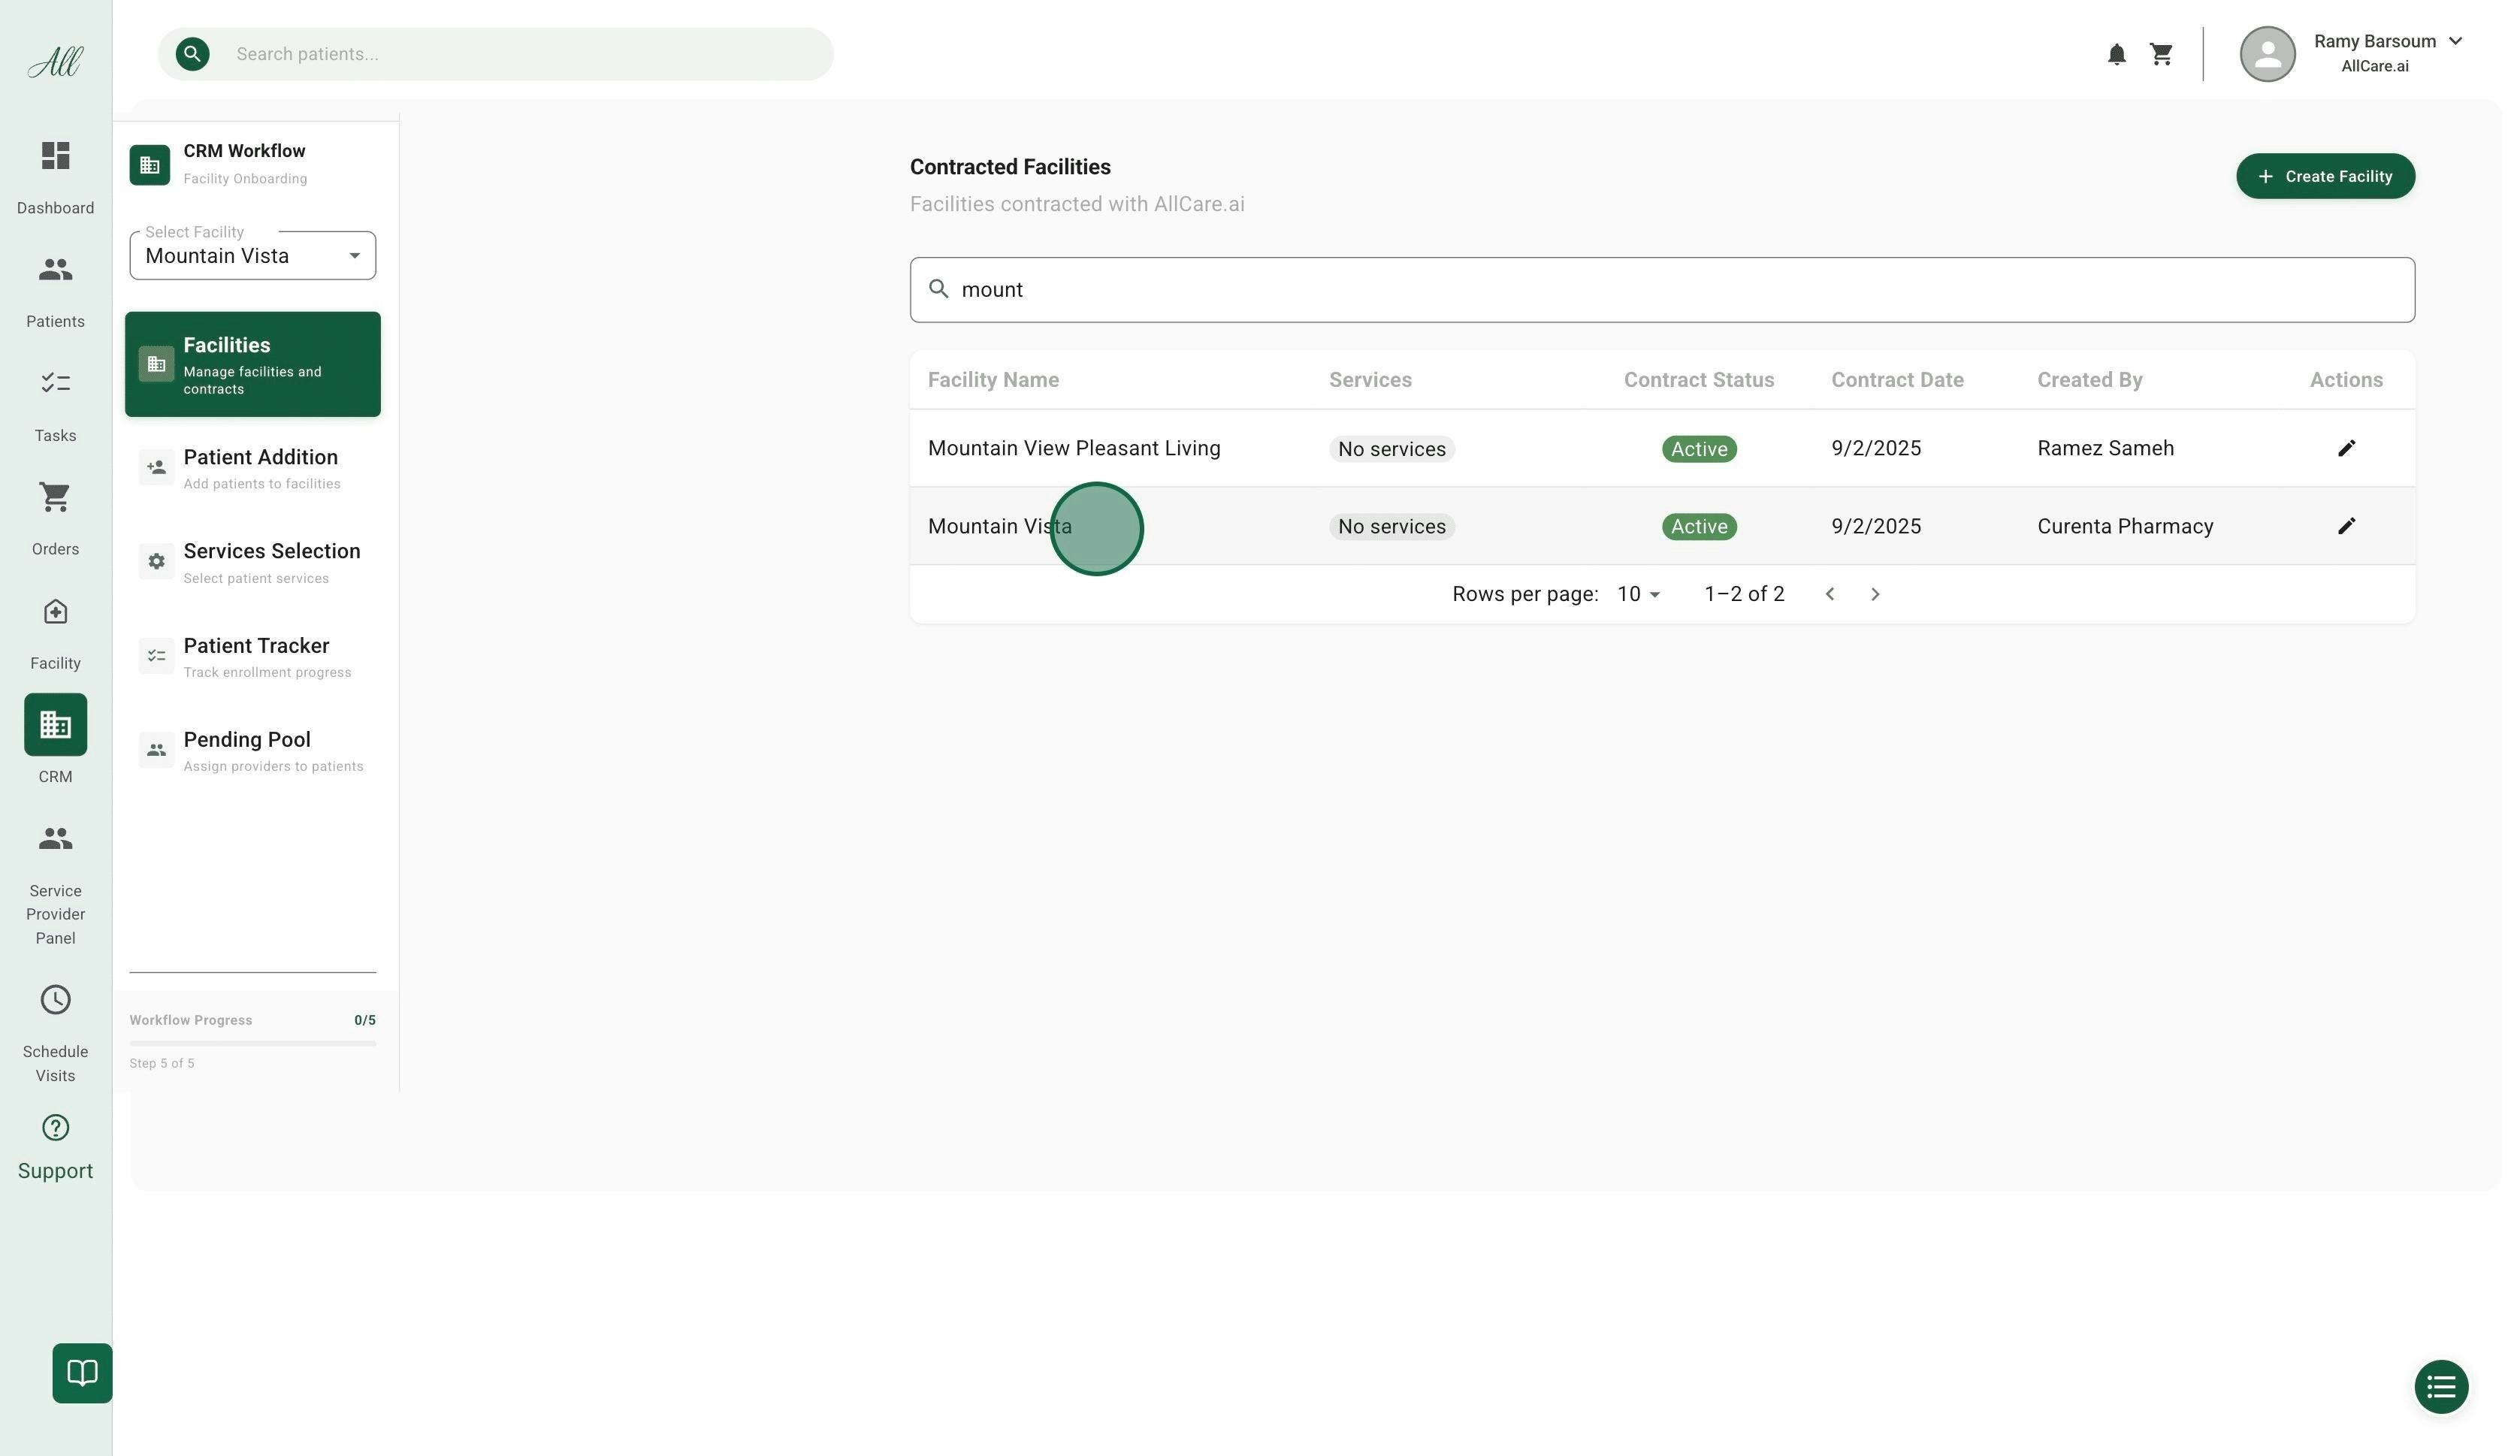
Step 2: Select Facility for Patient Addition
Choose Facility
Step 3: Add Patients
You have two options for adding patients to the facility: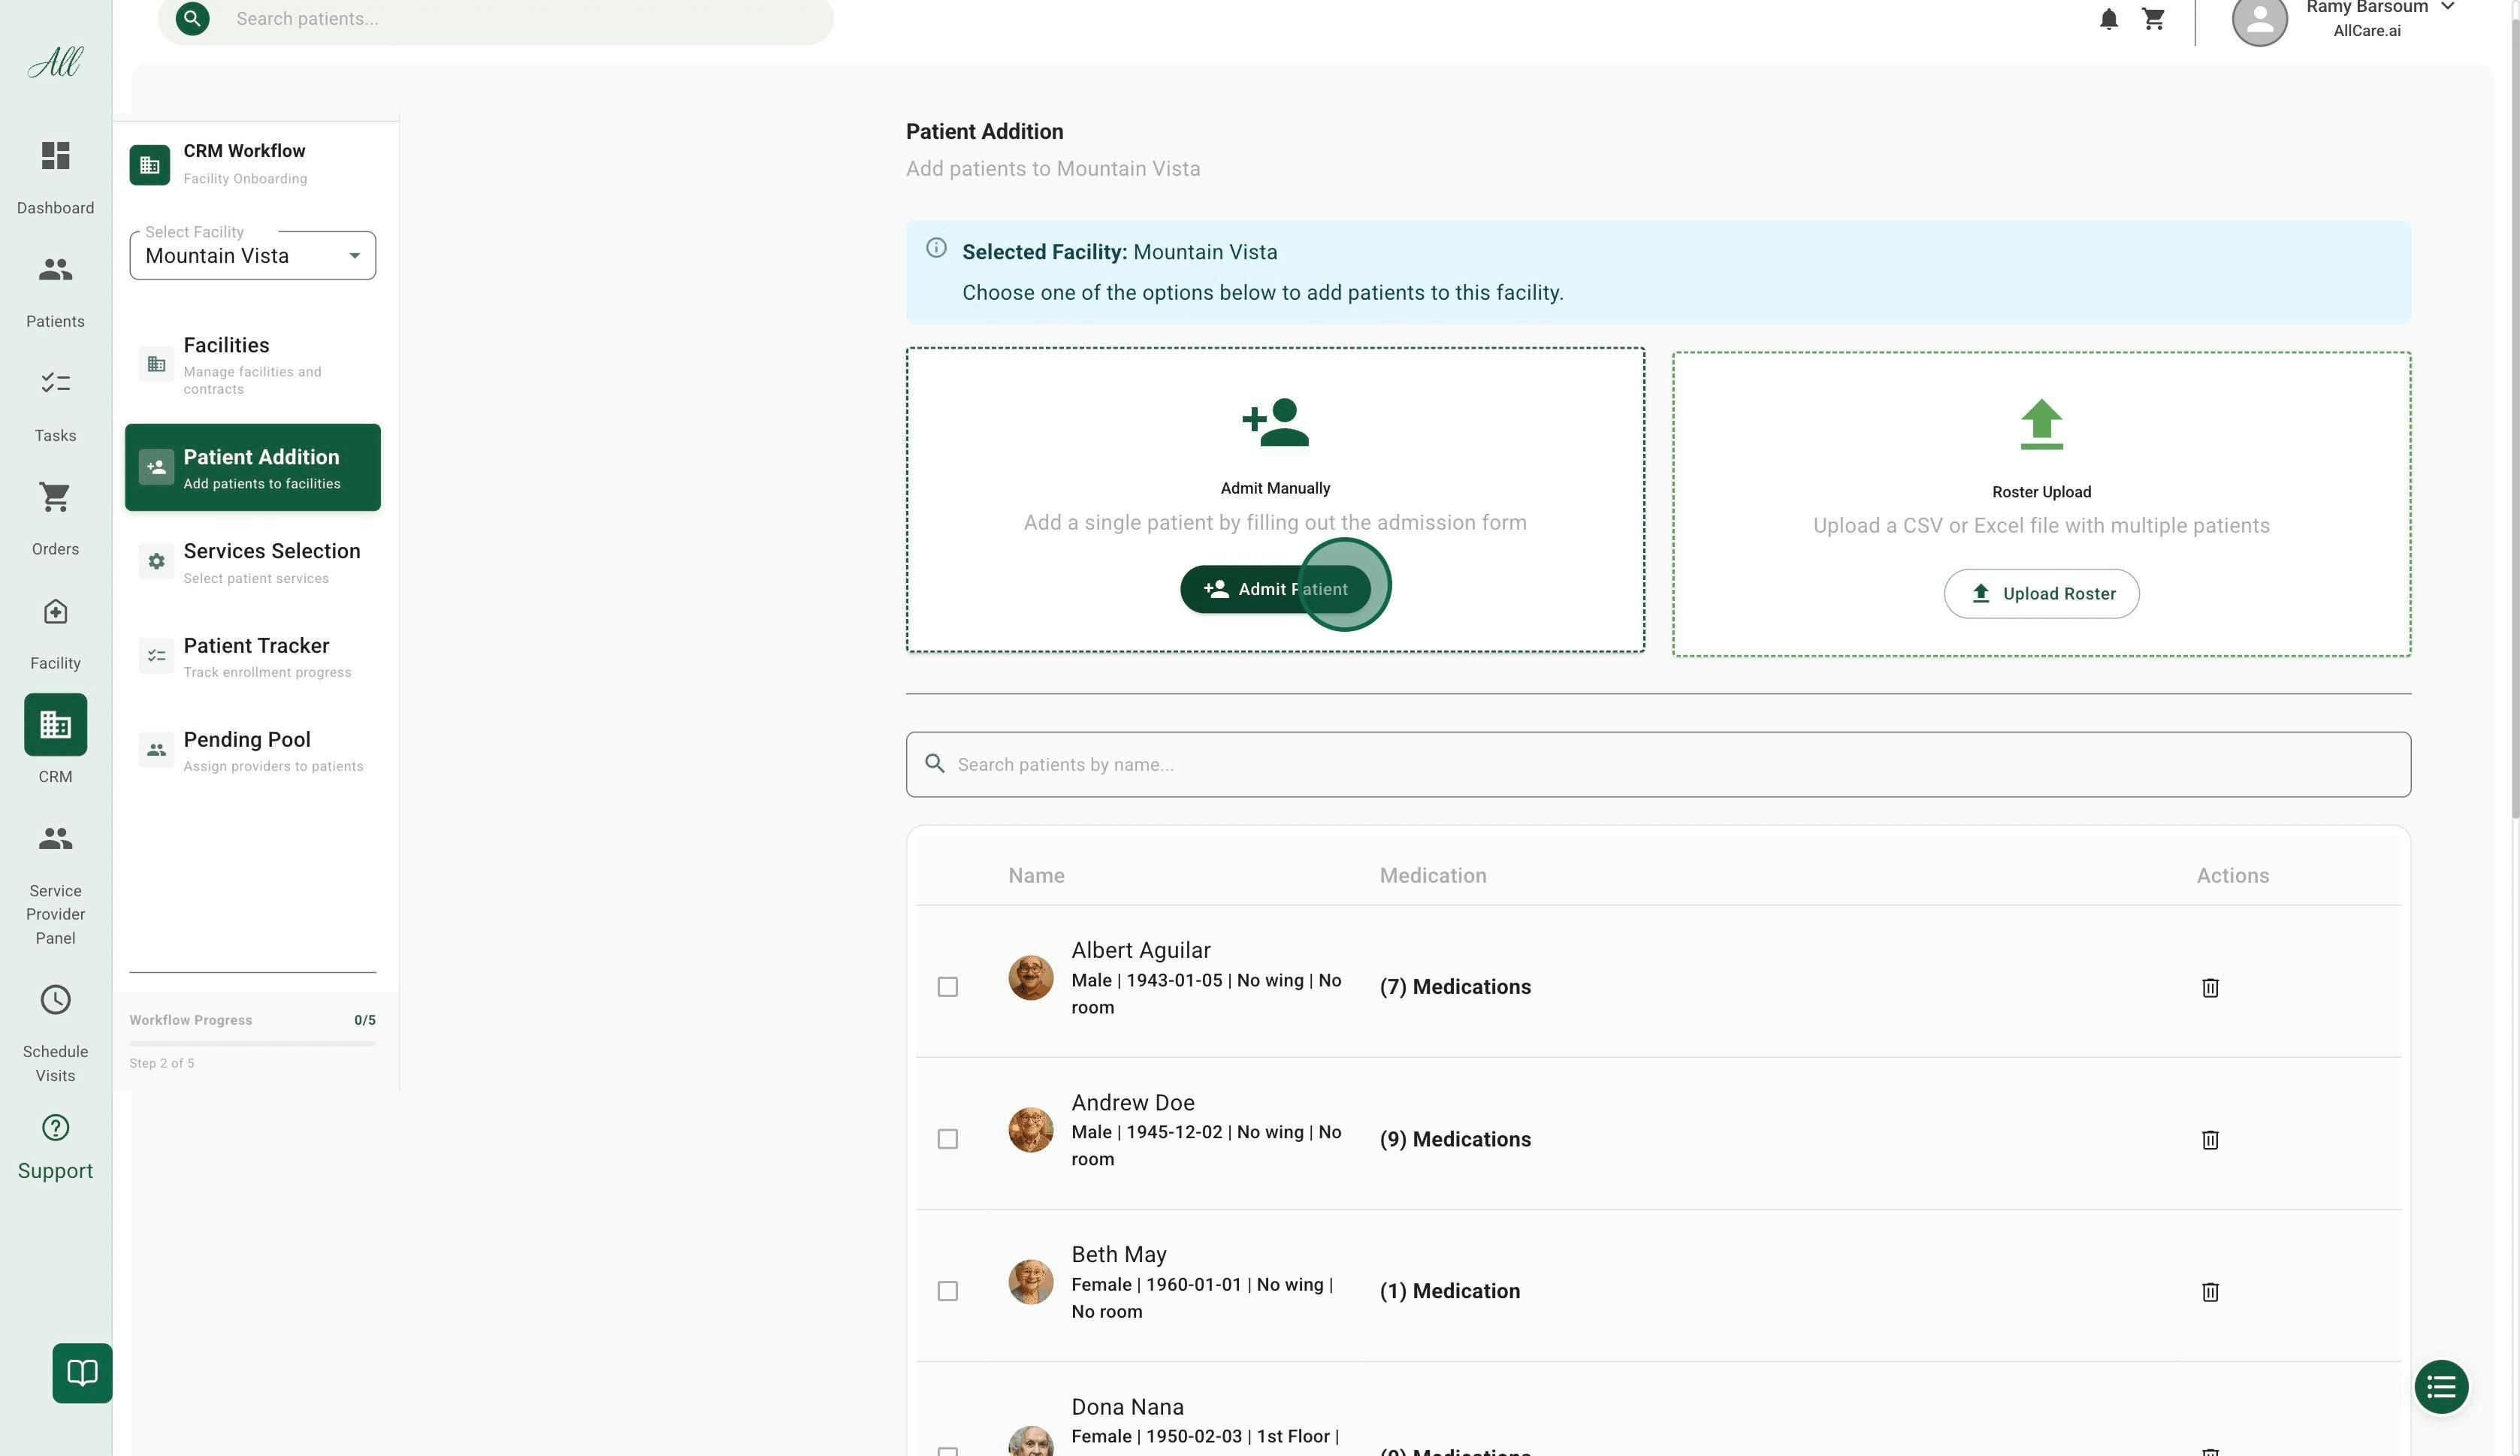
Option A: Add Patients Individually
Enter Patient Information
- First and last name
- Date of birth
- Room number
- Emergency contact
Option B: Bulk Upload via Roster
Upload Roster
- Upload a file
- Upload a spreadsheet
- Take a picture of the patient list
Step 4: Services Selection
Once all patients are added, assign services to each patient.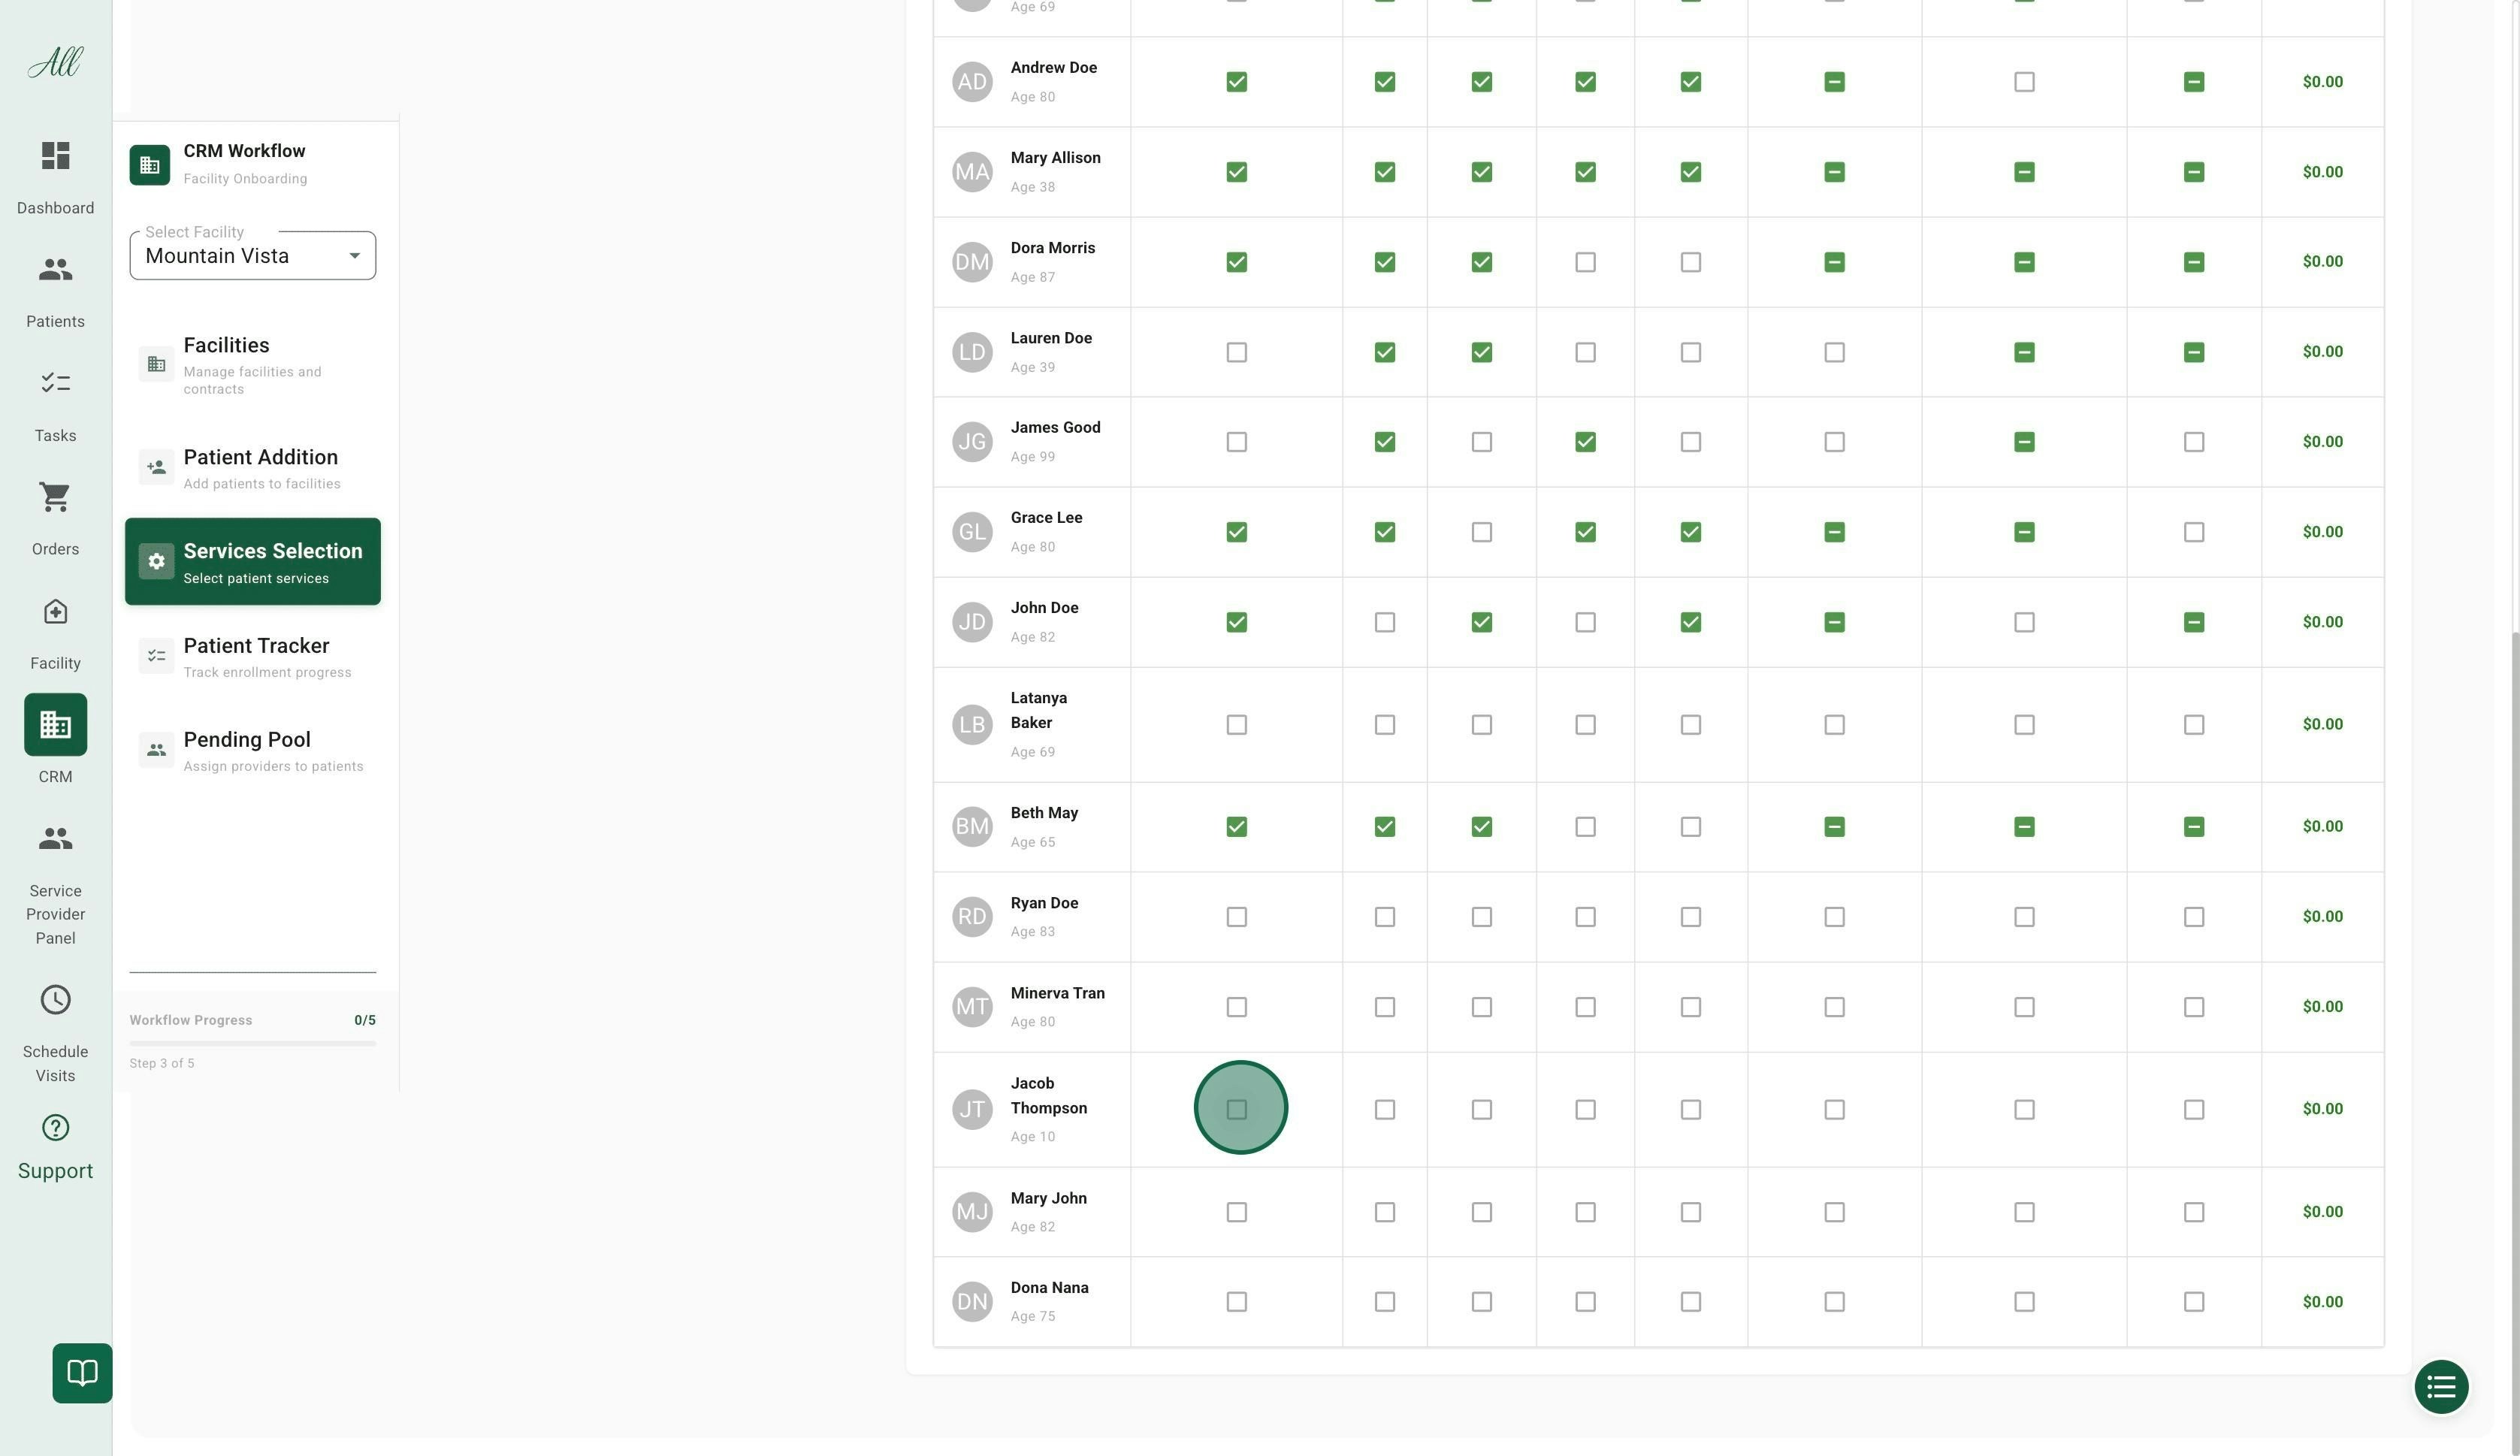
Select Services for Each Patient
- Medical Services
- Pharmacy Services
- Specialty Services
- Support Services
Step 5: Patient Tracker
Monitor patient enrollment progress and complete required checklists.Configure Checklist (If Needed)
- Add or remove checklist items
- Set items as required or optional
- Define document uploads or task tracking
Complete Patient Checklists
- Uploading required documents
- Marking tasks as complete
- Adding any necessary notes
Step 6: Pending Pool - Provider Assignment
The final step is assigning patients to healthcare providers.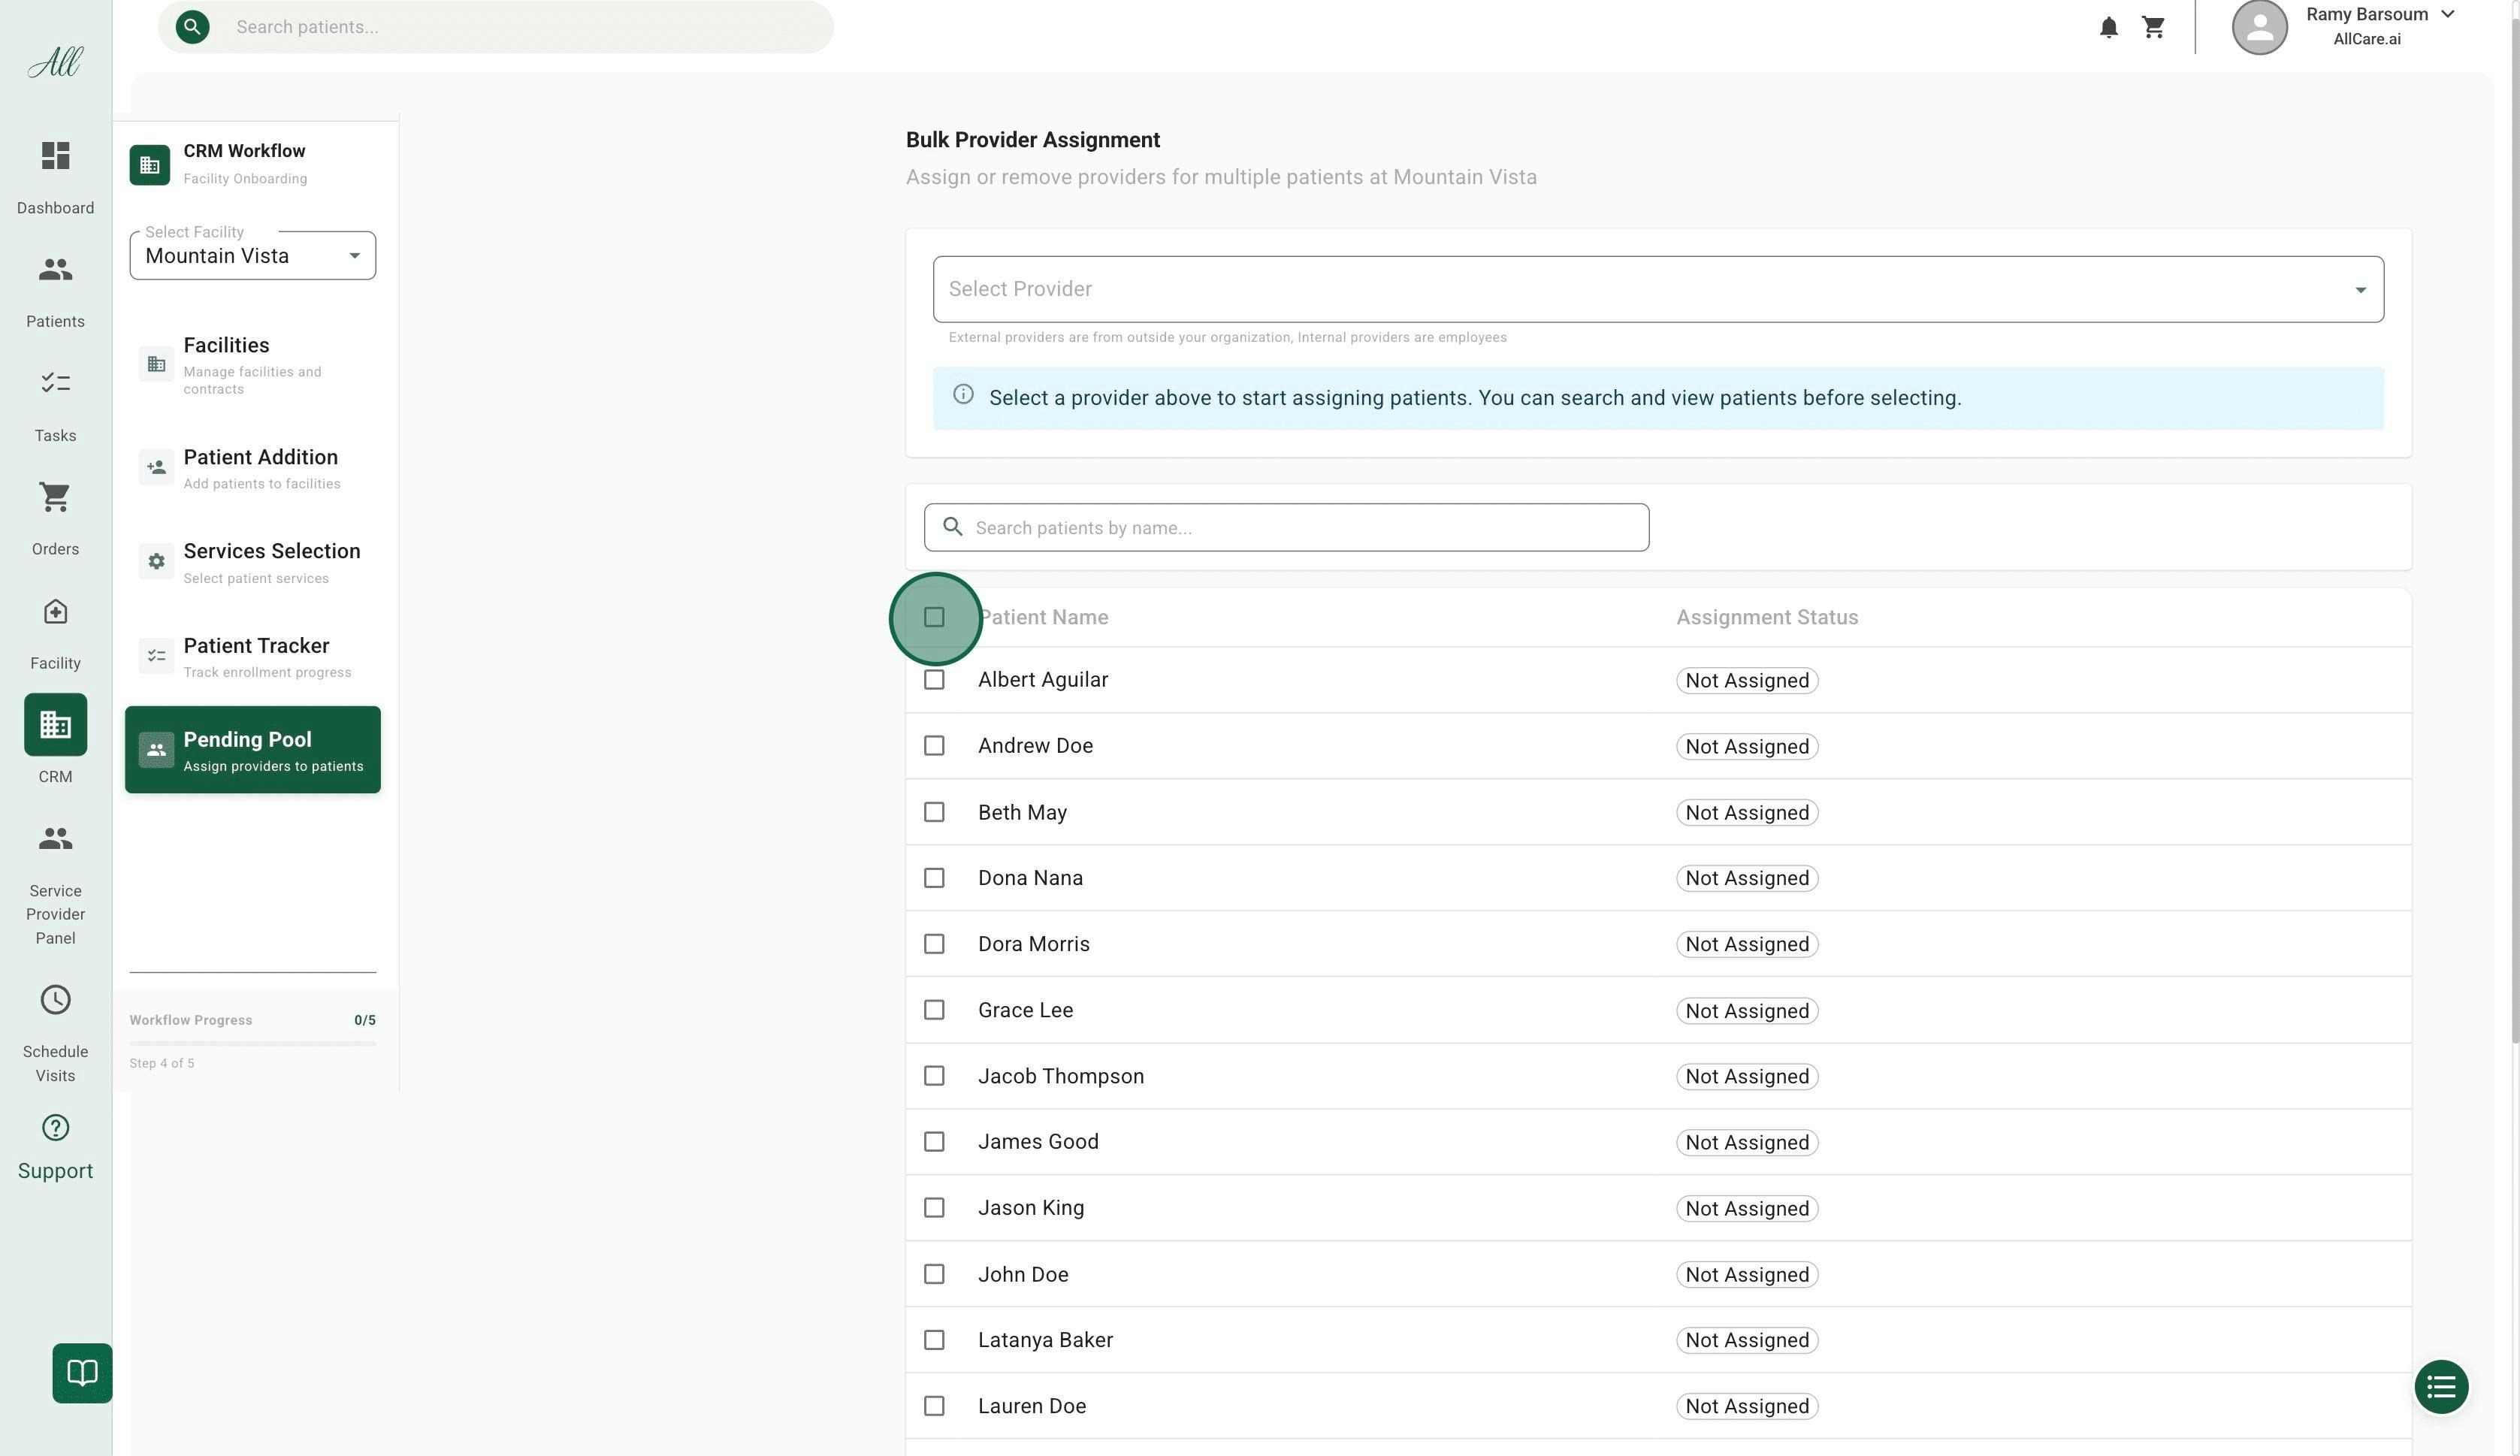
Select a Provider
Select Patients
- Click to select all patients at this facility
- Assign them to the provider chosen in the previous step
- Pick patients individually for custom assignments
- Assign different patients to different providers as needed
Workflow Summary
Here’s the complete CRM workflow at a glance:| Step | Action | Result |
|---|---|---|
| 1 | Create Facility | Facility profile created, admin invited |
| 2 | Select Facility | Ready to add patients |
| 3 | Add Patients | Patients added (individually or in bulk) |
| 4 | Services Selection | Services assigned to each patient |
| 5 | Patient Tracker | Checklists completed, status activated |
| 6 | Pending Pool | Patients assigned to providers |
Key Concepts
Contract Statuses
| Status | Meaning | When to Use |
|---|---|---|
| Not Contracted | No contract in place | Initial facility creation |
| Pending | Contract in negotiation | During contract discussions |
| Active | Contract signed and active | After contract execution |
| Churned | Contract ended | When the facility leaves AllCare |
Enrollment Statuses
| Status | Meaning | Automatic Trigger |
|---|---|---|
| Not Started | Patient added, not enrolled | Initial patient creation |
| In Progress | Working through the checklist | Checklist started |
| Active | Enrollment complete | All required checklist items done |
| Completed | Services delivered | Patient discharged or cycle complete |
Service Categories
Service categories help Operations teams:- Forecast Demand - Anticipate service needs
- Ensure Supply - Maintain adequate resources
- Plan Resources - Allocate staff appropriately
Frequently Asked Questions
How is the facility administrator invited when I create a new facility?
How is the facility administrator invited when I create a new facility?
Which checkboxes must I select on the facility creation screen and why?
Which checkboxes must I select on the facility creation screen and why?
- ✅ Ordering - Only for facilities working with AllRx Pharmacy
- ✅ eMAR - Electronic Medication Administration Record
- ✅ Bubble Pack - Medication packaging service
- ✅ Notes - Clinical notes functionality
- ✅ Tasks - Task management features
How do I upload patients in bulk and what should I do first?
How do I upload patients in bulk and what should I do first?
- First, select the correct facility
- Then, upload the file, sheet, or take a picture of the list
What does the Patient Tracker checklist track and how is progress measured?
What does the Patient Tracker checklist track and how is progress measured?
- Documents to upload (e.g., consent forms, medical records)
- Tasks to track until completion (e.g., initial assessment, insurance verification)
How does service selection affect available features?
How does service selection affect available features?
- Selecting all healthcare provision services for a patient
- Includes Expert Support and AI Technology features
- Selecting individual services
- May affect available features and support options
Can I manually override the enrollment status before completing the checklist?
Can I manually override the enrollment status before completing the checklist?
Can I assign different patients to different providers?
Can I assign different patients to different providers?
- Assign All - Select all patients at a facility and assign to one provider
- Individual Assignment - Pick patients individually for custom assignments to different providers
Best Practices
Troubleshooting
Administrator not receiving invitation
Administrator not receiving invitation
- Email address entered correctly
- Email not in spam folder
- User hasn’t already been invited
Can't save facility creation
Can't save facility creation
- Required fields missing
- Address not verified
- Duplicate facility name
Bulk patient upload failing
Bulk patient upload failing
- Facility selected before upload
- File format is correct
- All required patient fields included
Checklist not showing progress
Checklist not showing progress
- Items marked as “required” in the checklist configuration
- Items actually completed
- System has saved changes